

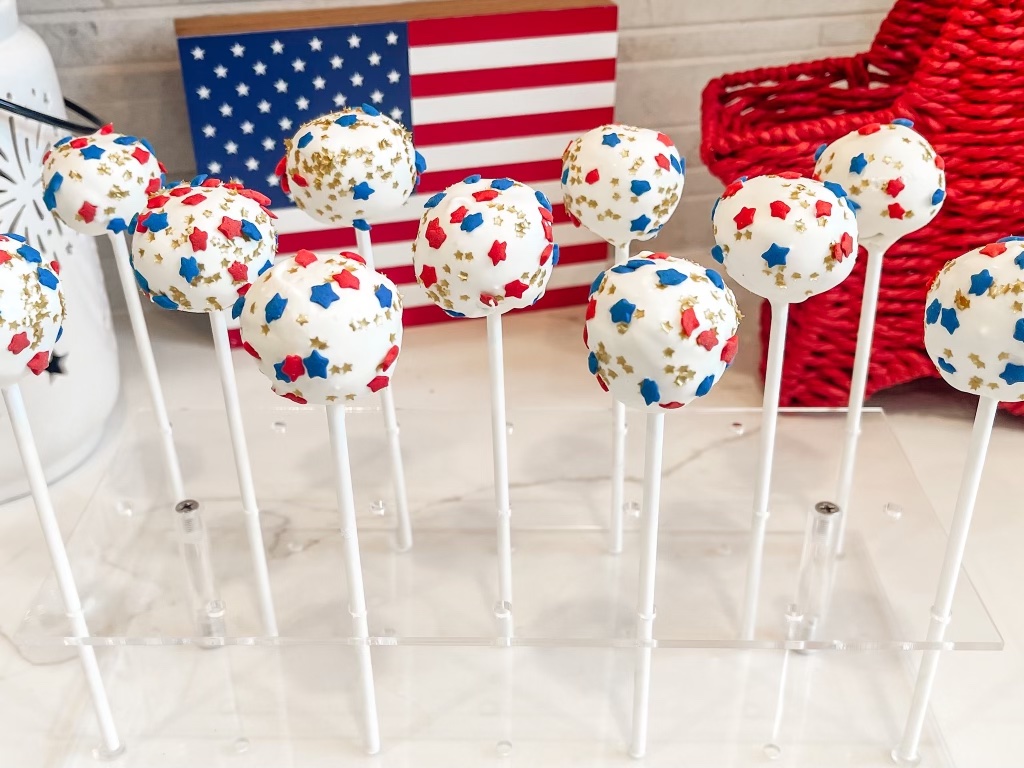
Red White and Blue anything makes me happy! Your kids and guests will love these Patriotic Cake Pops made from just a few ingredients. This recipe is simple, but there are a few important tips I’ve outlined below you don’t want to miss! Cake pops can be tricky if you skip these important steps.
*This post may contain affiliate links. We may earn a commission on purchases made after clicking on these links. We only recommend products we believe in. Thank you for your support!
What You will Need
EQUIPTMENT
- Mixer
- Small ceramic or glass bowl
- Warming plate
- Scooper
- Cake pop stand
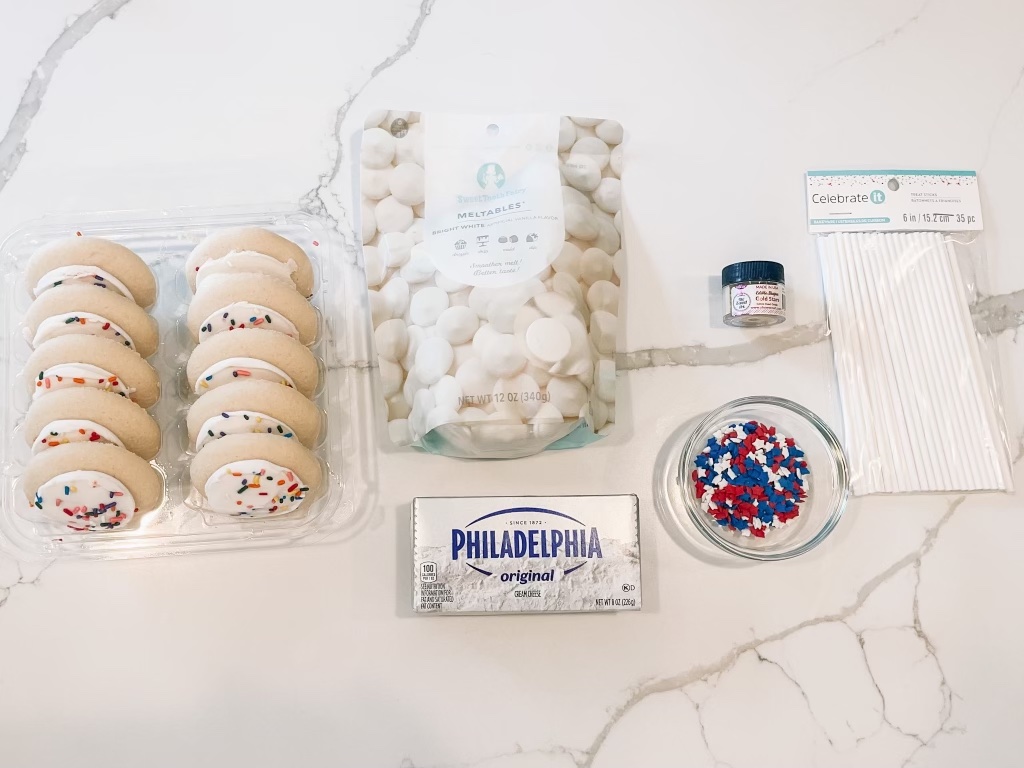
CAKE POP INGREDIENTS
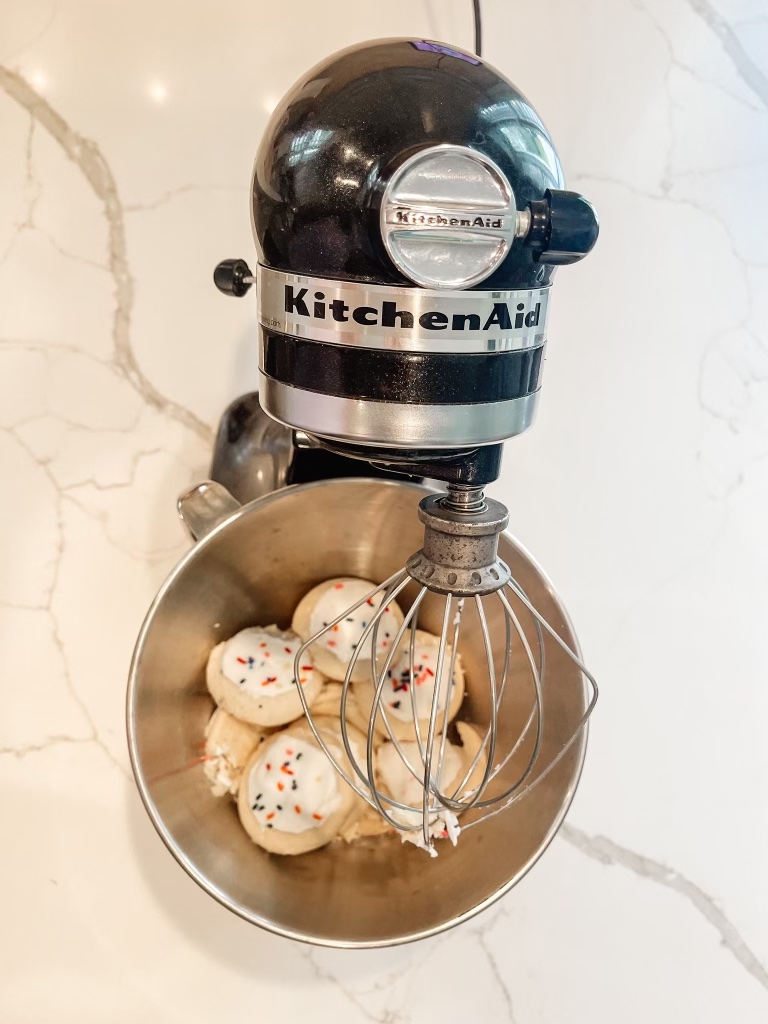
- 1 package frosted sugar cookies
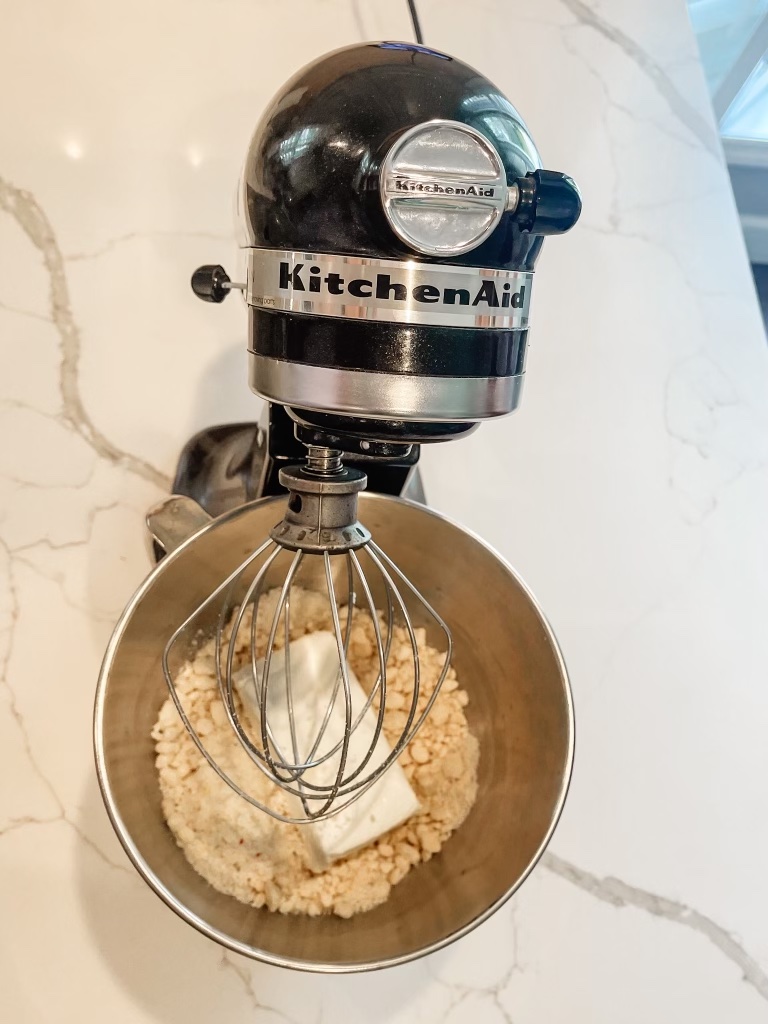
- 8 oz cream cheese
- 12 oz meltable candy
- Cake pop sticks
- Patriotic Red White and Blue sprinkles
- Patriotic Gold sprinkles
Step 1: Make the Cake Pop Filling
Make the cake pop filling by blending all frosted sugar cookies in a mixer. Once the cookies are well crumbled, add the block of cream cheese and blend until smooth.
Steps 2: Assemble the Cake Pop Balls
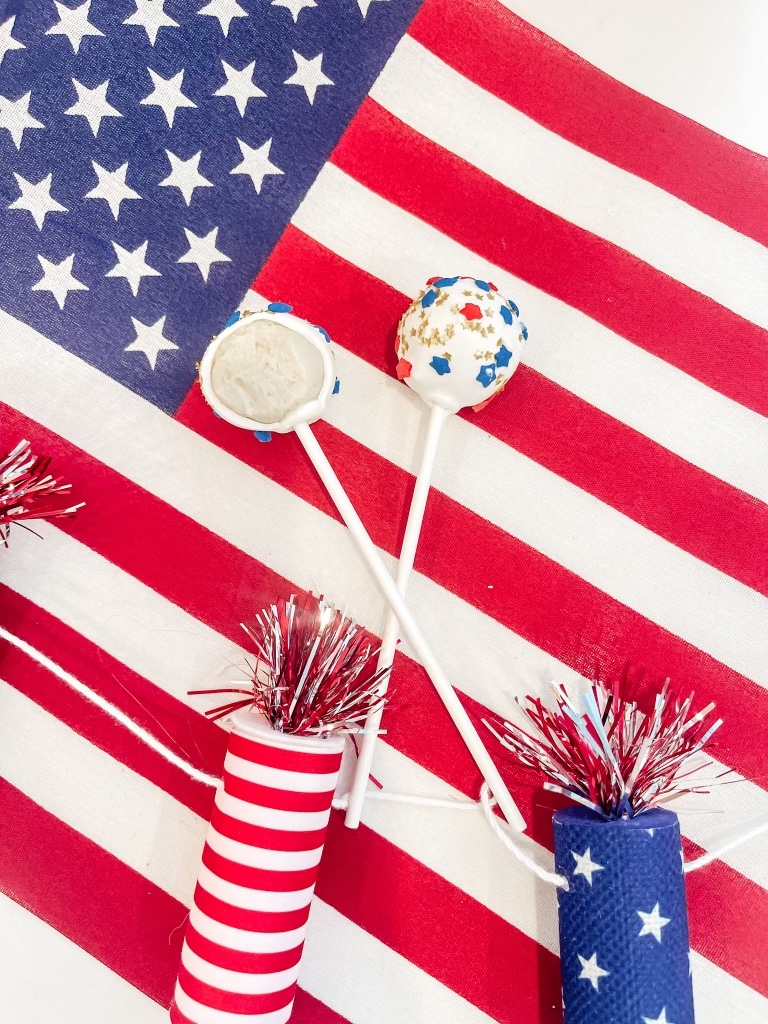
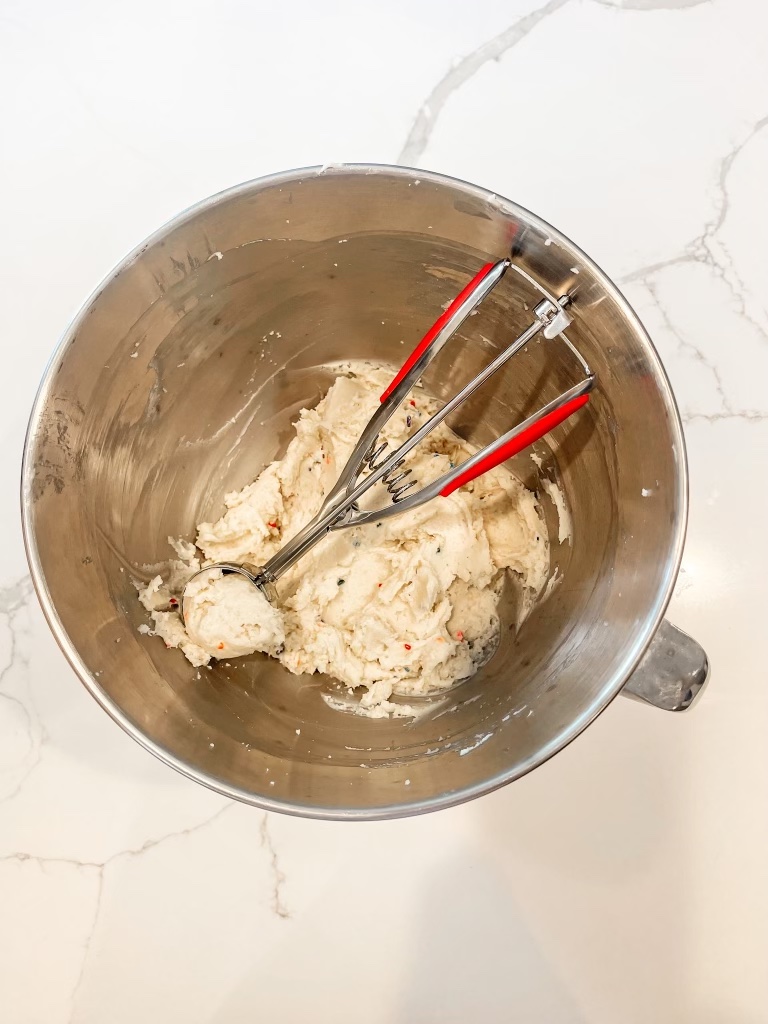
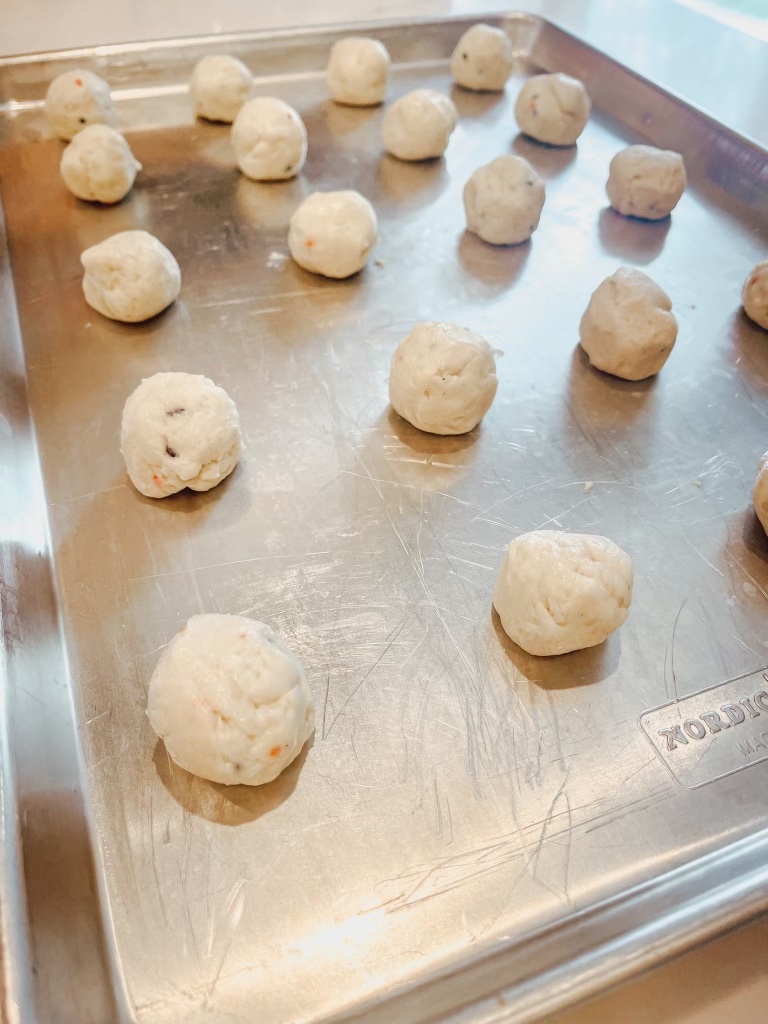
Use a scooper to roll the cake pop filling into 1 inch balls and set aside on dish that you can later fit in your freezer. Remember that a candy coating will cover the filling, making the overall cake pop bigger. Resist the temptation to make any larger than 1 inch to prevent too large of a final product!
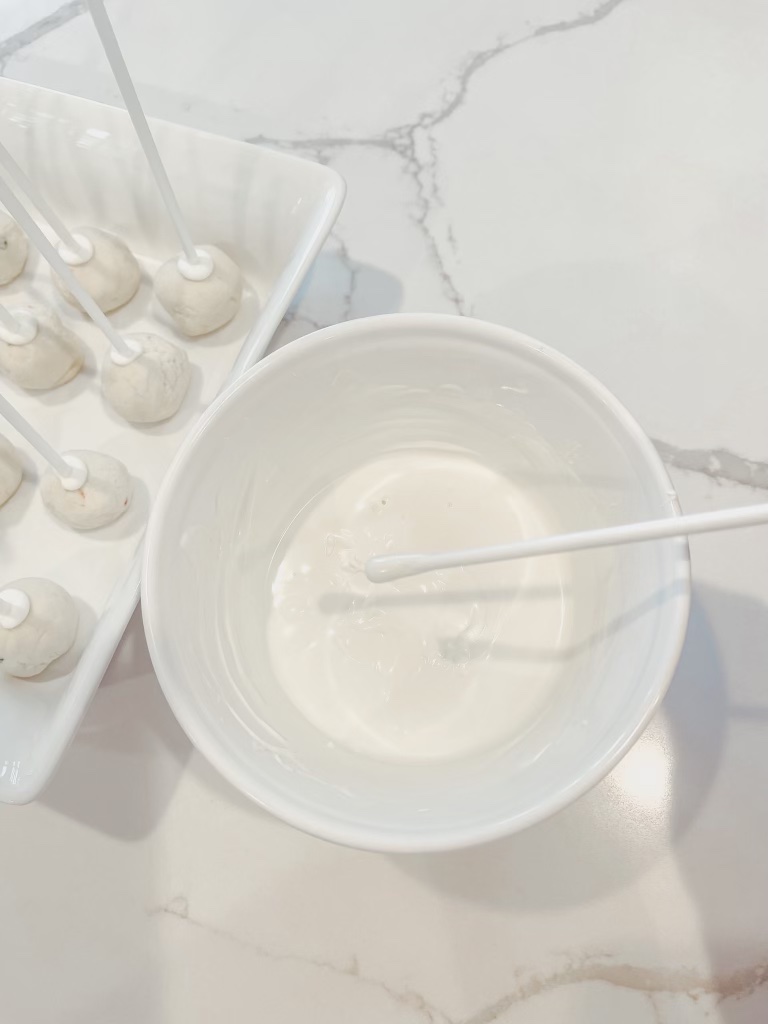
Melt 2 oz of the candy meltables in a microwave safe bowl.
Dip the cake pop stick in meltable candy and stick in cake pop filling. This will ensure the cake pop stays in place on the stick.
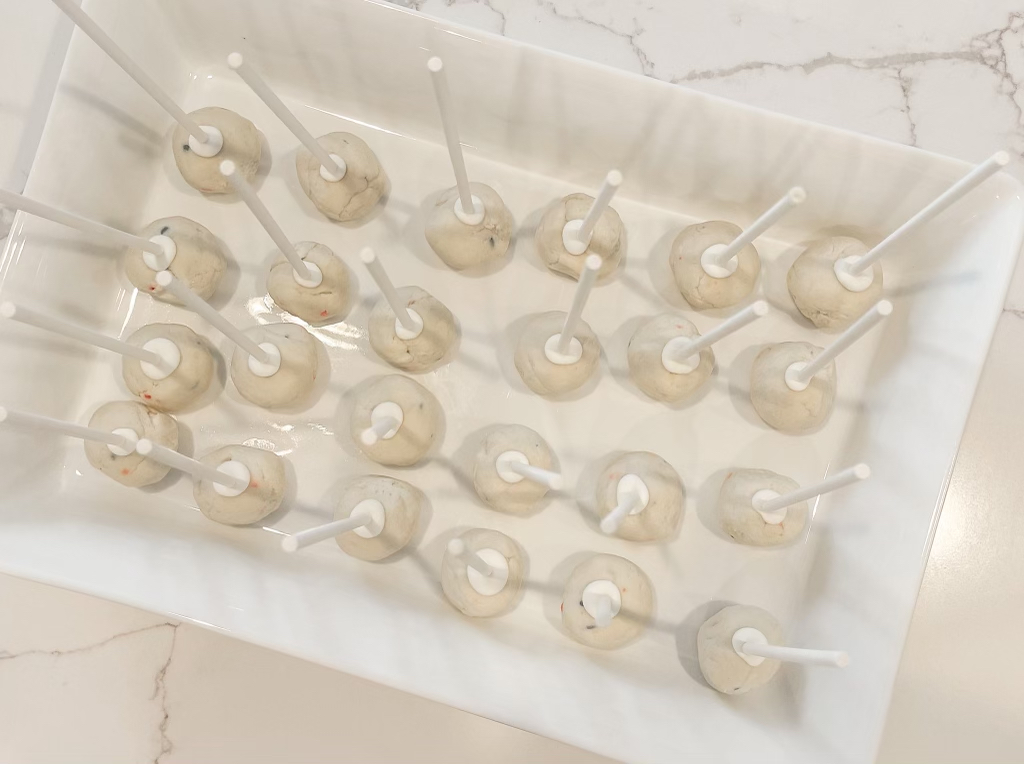
Step 3: Freeze the Cake Pops
Freeze the cake pops for at least 1 hour. This simple item gets into own step because it’s very important! This will ensure the cake pop stays on the stick properly once you dip in the candy meltable.
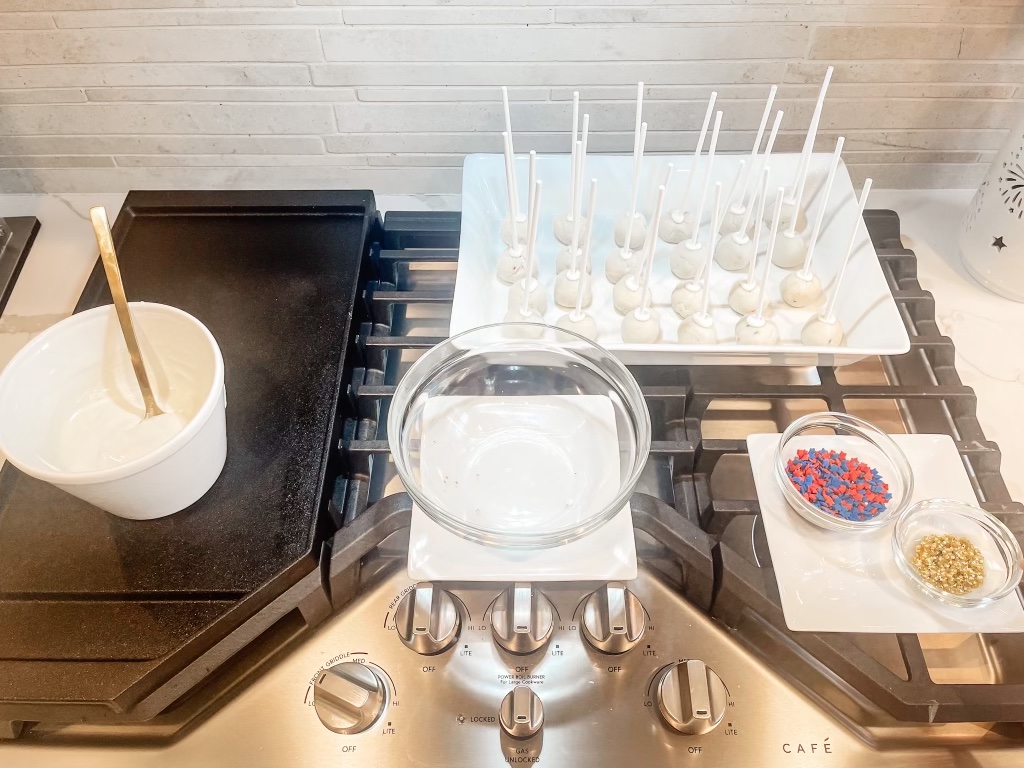
Step 4: Assemble the Cake Pop Decoration Station
While the cake pops are in the freezer, prep the cake pop decoration station. To do this you need a warming plate or burner to keep the meltable candy warm. I use the griddle on my stove top and turn on low. You need a bowl with your sprinkles. You also need a place to set the finished cake pops, ideally a cake pop stand. I found this simple acrylic cake pop stand.
This is the second important tip that will make the final product a no fail. When you go about decorating the cake pops, you need all materials nearby and quickly accessible.
Step 5: Decorate the Cake Pops
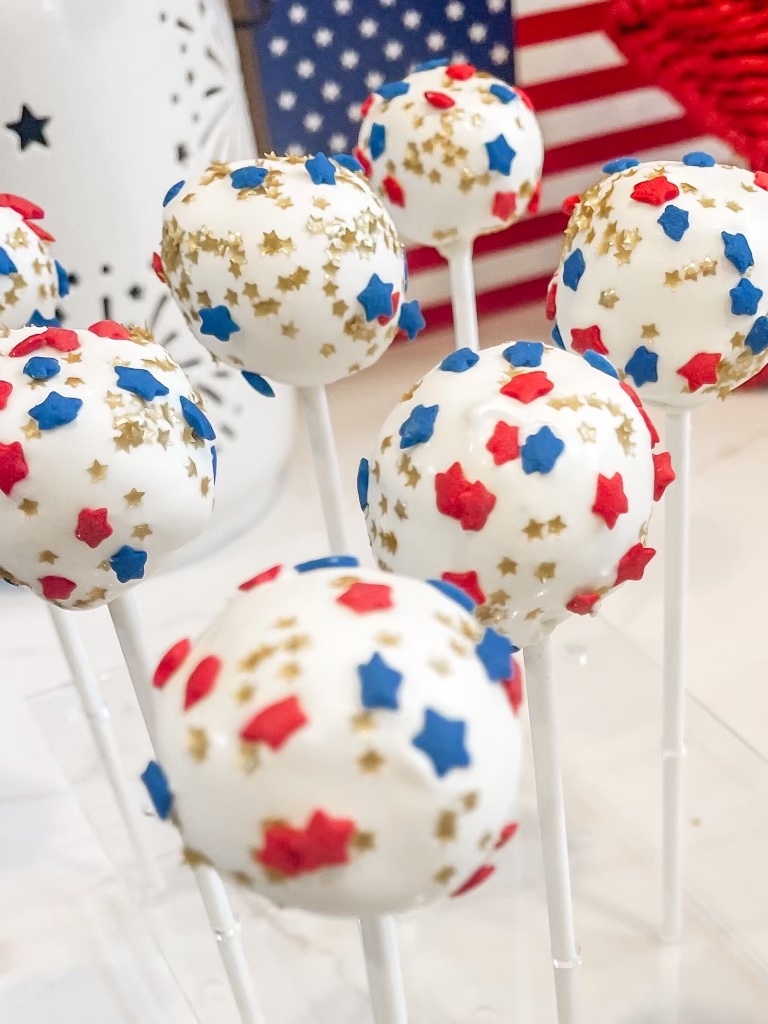
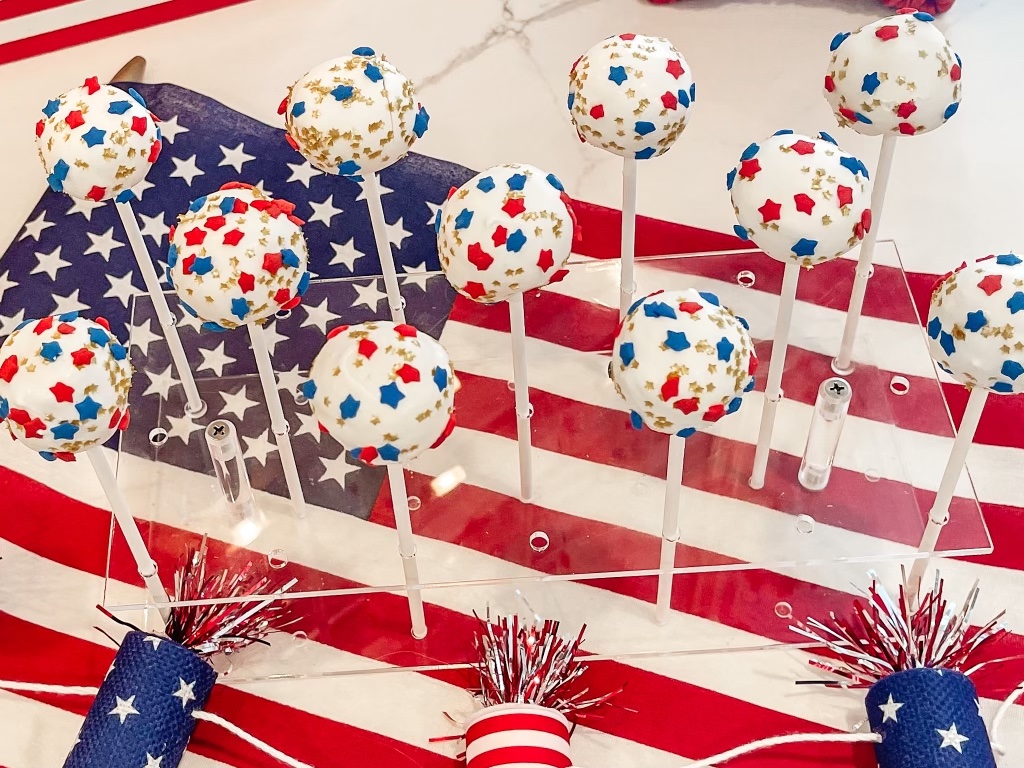
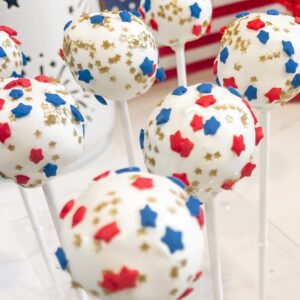
Melt the remaining candy meltables in a microwave safe bowl that is deep enough to dip the cake pop. Once melted, place on the warming plate or low burner to keep warm. Dip the cake pop fully into the candy meltable and swirl off excess. Add sprinkles and place in cake pop stand until meltable candy hardens.
Because the cake pop is frozen, the mutable will harden quickly once you dip the cake pop into the candy meltable. You need to work quickly to add the sprinkles..hence the importance to prep the decoration station.
Store in refrigerator until served.
These Patriotic Cake Pops are delicious and your kids will love them… be sure to make extra for the party!
For more recipes and delicious inspiration, check out the Food section of our blog here!
Patriotic Cake Pops
Equipment
- Mixer
- Small ceramic or glass bowl
- Warming plate
- Scooper
- Cake pop stand
Ingredients
- 1 package frosted sugar cookies
- 8 oz cream cheese
- 12 oz meltable candy
- cake pop sticks
- patriotic sprinkles
Instructions
- Make the cake pop filling by blending all frosted sugar cookies in a mixer.
- Once the cookies are well crumbled, add the block of cream cheese and blend until smooth.
- Use a scooper to roll the cake pop filling into 1 inch balls and set aside on dish that you can later fit in your freezer.
- Melt 2 oz of the candy meltables in a microwave safe bowl.
- Dip the cake pop stick in meltable candy and stick in cake pop filling. This will ensure the cake pop stays in place on the stick.
- Freeze cake pops for at least 1 hour.
- While the cake pops are in the freezer, prep the cake pop decoration station. To do this you need a warming plate or burner to keep the meltable candy warm. You need a bowl with your sprinkles. You also need a place to set the assembled cake pops, ideally a cake pop stand.
- Melt the remaining candy meltables in a microwave safe bowl that is deep enough to dip the cake pop. Once melted, place on the warming plate or low burner to keep warm.
- Dip the cake pop fully into the candy meltable and swirl off excess.
- Add sprinkles and place in cake pop stand until meltable candy hardens.
- Store in refrigerator until served.