


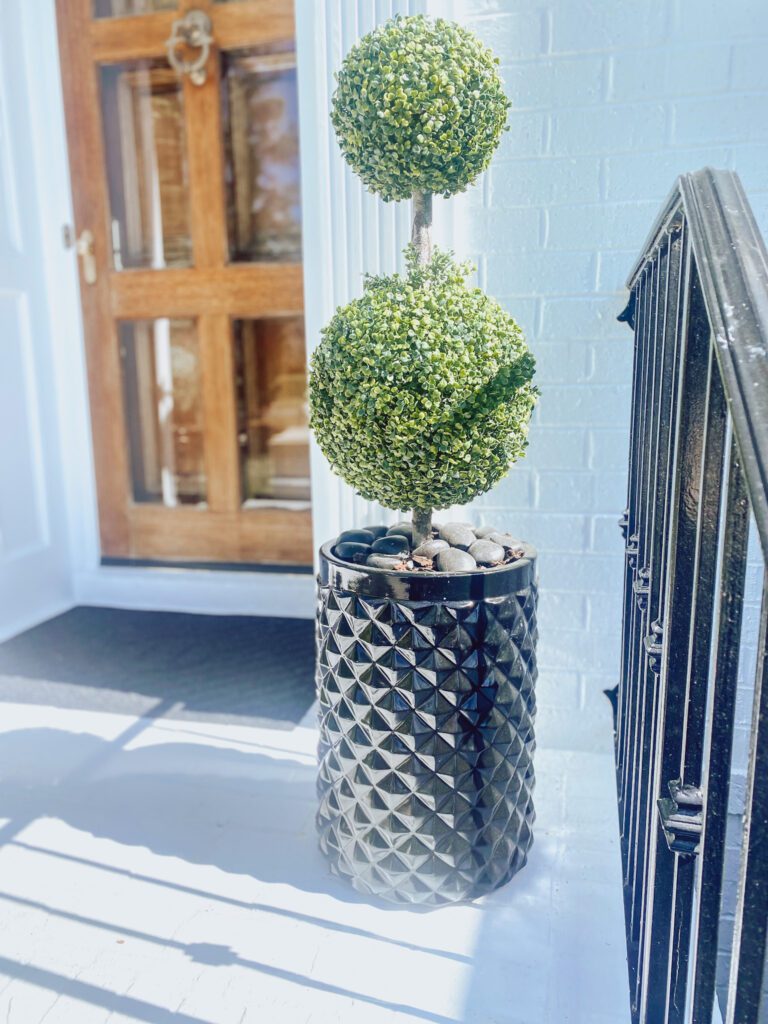
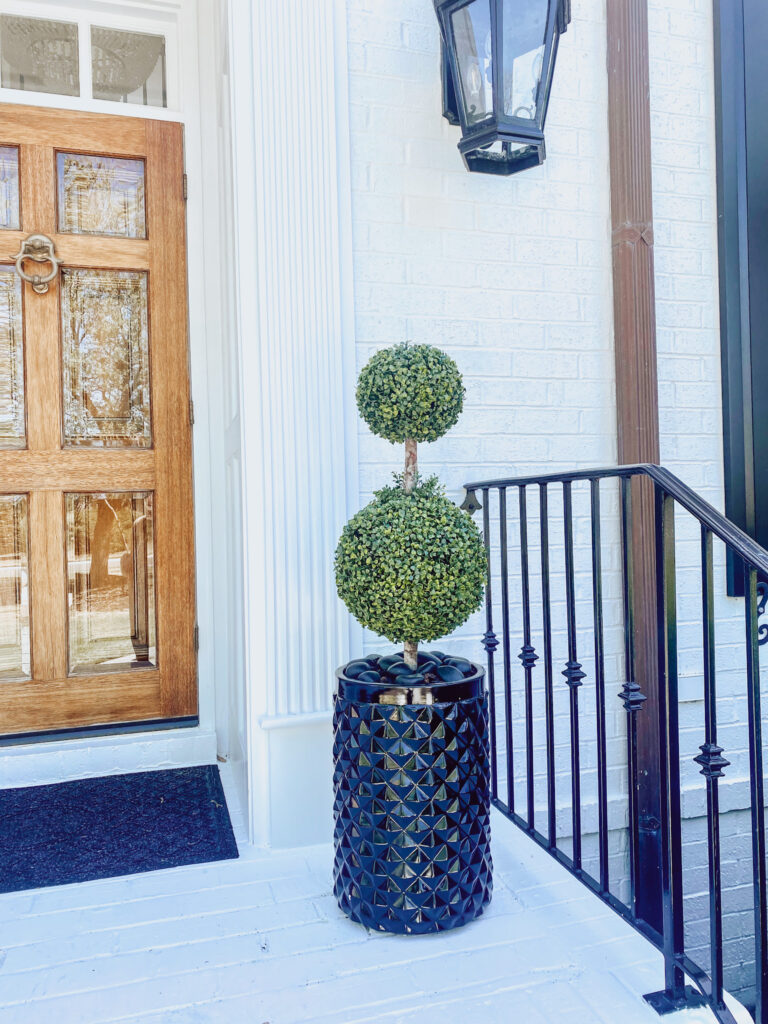
I just love the look of topiaries and boxwoods! They add instant curb appeal and I love that these are a no mess, no maintenance option that look very realistic. I used to have real topiary planters on my porch but after days of cleaning up messy water and mulch coming from under the planter, I knew I needed to find an alternate option.
These should not attract mosquitos like real planters will and I prefer a bite free entrance at my front door. I also think the green really pops!
*This post may contain affiliate links. We may earn a commission on purchases made after clicking on these links. We only recommend products we believe in. Thank you for your support!
Follow these quick steps to create a stately topiary planter of your very own!
Supplies Needed:
- Planters (should be wider/deeper than plant you are using, to give realistic look)
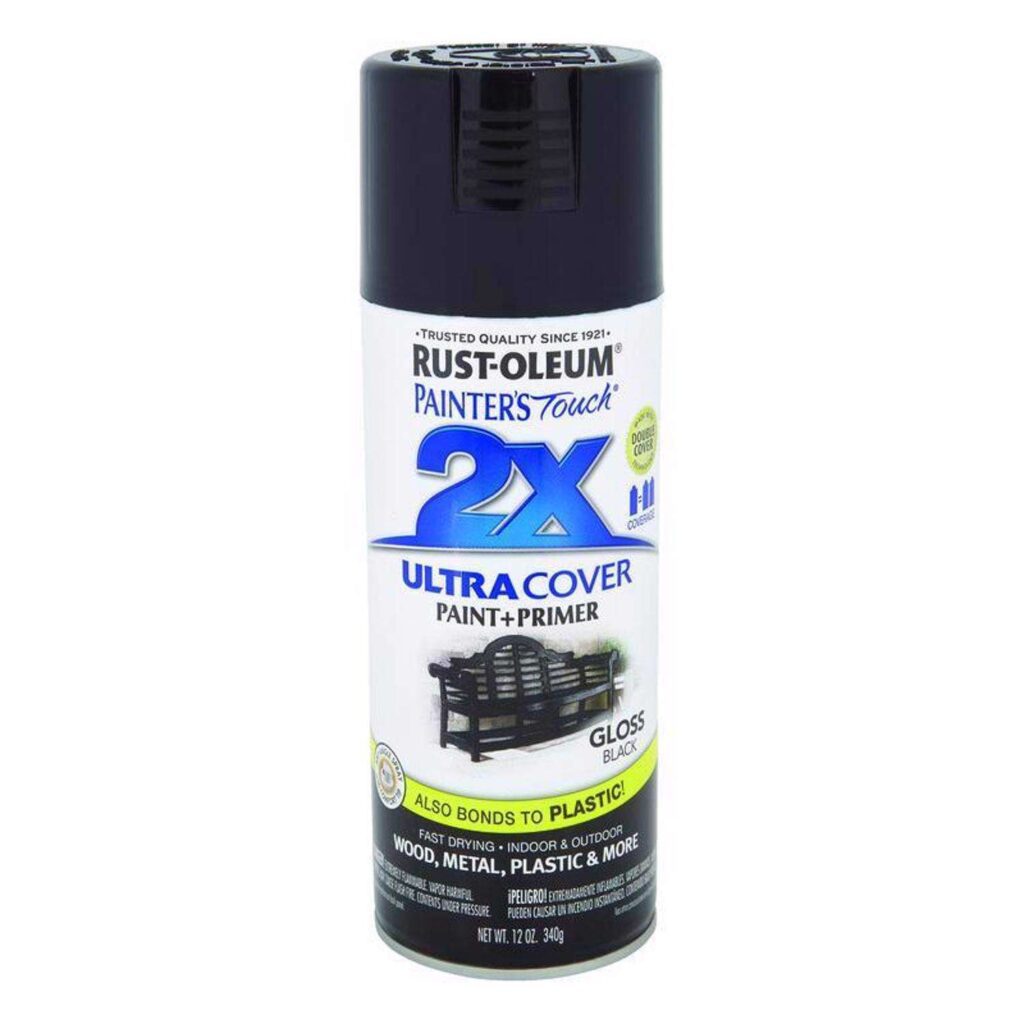
- Spray Paint + Primer
- Ceramic Glaze Spray Paint
- Drill (do not need if planters already have drainage hole)
- Faux Plants (I found these ones on Amazon)
- Landscaping Rock (inexpensive landscaping rock)
- Polished Lava Rock (finished rock for topdressing the mulch)
- Rubber Mulch
Step #1 – Select Planters and Paint them Desired Color if Needed
You want to be sure to select planter pots that are wider and deeper than the plants you are putting inside them to give a realistic look.
If the perfect shape and size planter is not your preferred color, you can easily paint it with the following supplies. That is what I did! I found my planters at Home Goods and they were originally white. They were glazed ceramic too which I was nervous about painting but they covered great and they look like they were originally black glazed ceramic planters.
I did 3 coats of the black spray paint + primer, waiting 20 minutes between each coat for dry time, and 2 coats of the clear ceramic glaze, waiting 30 minutes in between dry times. I did not sand beforehand and it turned out great!
If your planter does not have a drainage hole, you will want to drill one hole at the bottom of each planter. Even though these are faux plants, you do not want water to pool up inside them and overflow.
Step #2 – Pour rock in bottom of planters
We used inexpensive white landscaping rock. It was perfect for weighting down the planter and it will not be seen so the color was not a factor.
This step is important because it weighs down your planters and allows for proper drainage. You can to pour this about 3/4 the way up in your planters.
Step #3 – Pour Rubber Mulch and Level Plant Base with Top of Planter
Before you put your plant in you want to pour a layer of rubber mulch to get the base of the plant level with the top of the planter. You may have to adjust how much soil you have under the plant to get the height where you want it.
Step #4 – Top dress with Rubber Mulch
Once your plant is at the right level, fill in the sides and top with rubber mulch to keep the plant in place and cover the container the plant is in.
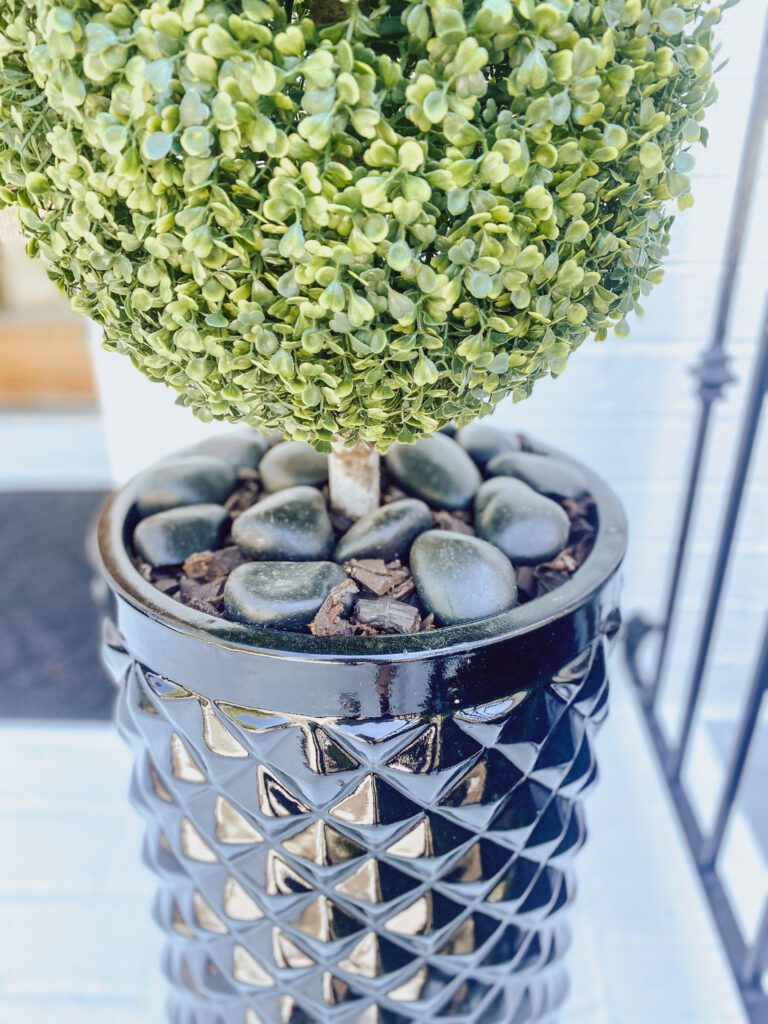
Step #7 – Finish with Lava Rock
You can use any rock of preference here but we chose smooth black lava rock. We love the finished look it gives these planters and it also holds the plant and rubber mulch in place.
“Lava Rock is a great way to add a classy touch to any planter. “
Bask in the beauty of your new Planter
And Voilà , you have just improved your curb appeal in a matter of minutes!
For more home inspiration, check out the Home section of our blog here!