*This post may contain affiliate links. We may earn a commission on purchases made after clicking on these links. We only recommend products we believe in. Thank you for your support!
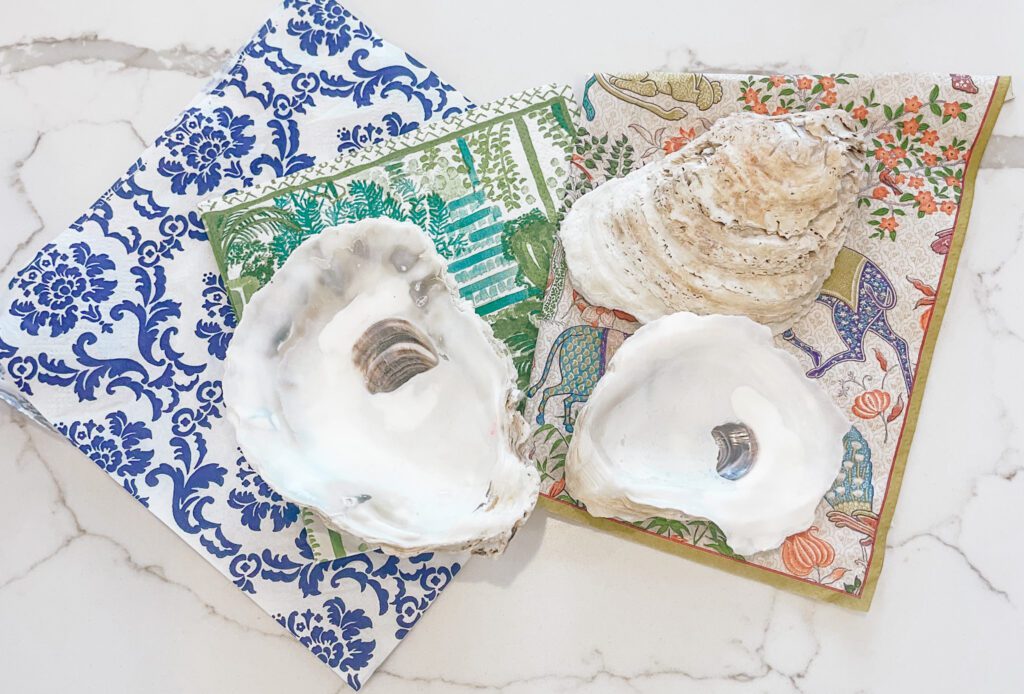
Step #1: Start by gathering your materials
You’ll need the following:
- Bleached Oyster Shells
- Cocktail napkins
- Mod Podge Craft Glue, Gloss Luster
- Mod Podge Clear Acrylic Sealer, Gloss
- Gold Premium Gilding Paint
- Paint Brushes
Bleached Oyster Shells can be purchased, or we highly recommend having an Oyster Roast and saving the shells to bleach yourself.
Step #2: Adhere the napkin to the inside of your oyster shell
First decide which part of the napkin design you want to place on the dish. I find it easiest to cut the napkin roughly the size of the oyster shell. This does not have to be perfect, you will remove the excess napkin in a future step. But cutting away the extra makes it easier to manage and align the piece of the napkin you want on the dish.
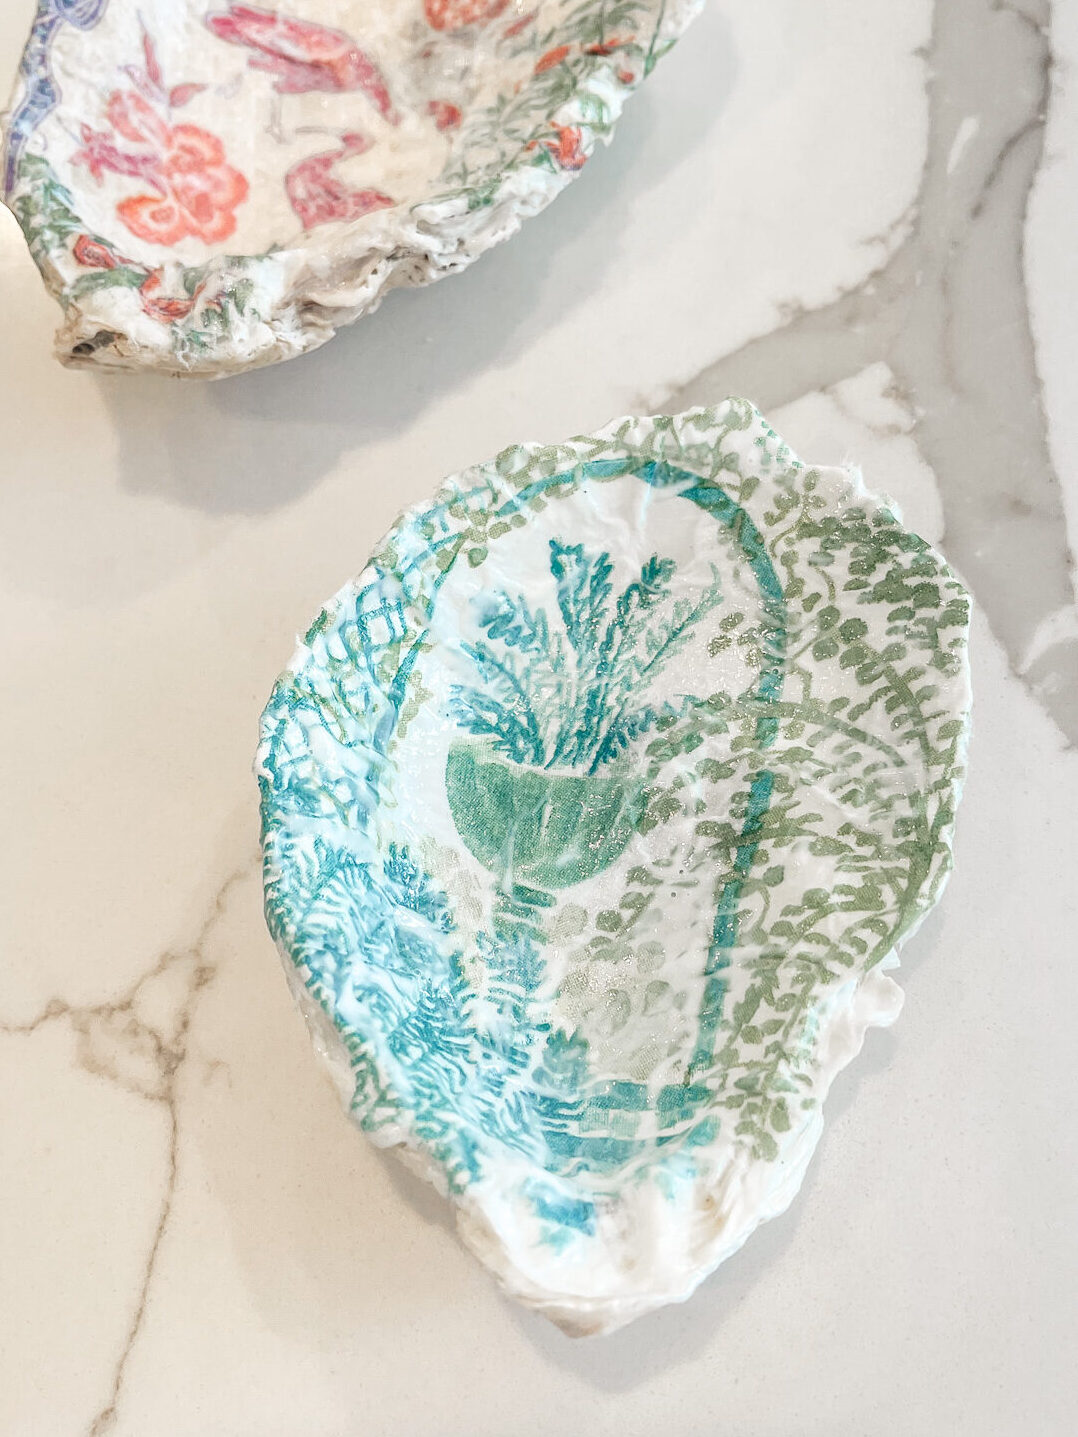
Use a paint brush to coat Mod Podge on the inside of the oyster shell. Then stick the napkin on the inside of the shell, making sure it is laying flat to the curve of the shell. It’s okay if the napkin extends beyond the shell and if the napkin folds some due to the curve of the shell. Then paint another coat of Mod Podge over the top of the napkin. Wait ~10 minutes for it to dry, then tear away the napkin at the edge of the shell. I like to paint one more coat of Mod Podge around the edge of the napkin to make sure it is stuck well and pat down any teared edges. Wait until dry
Step #3: Paint the backside of your shell
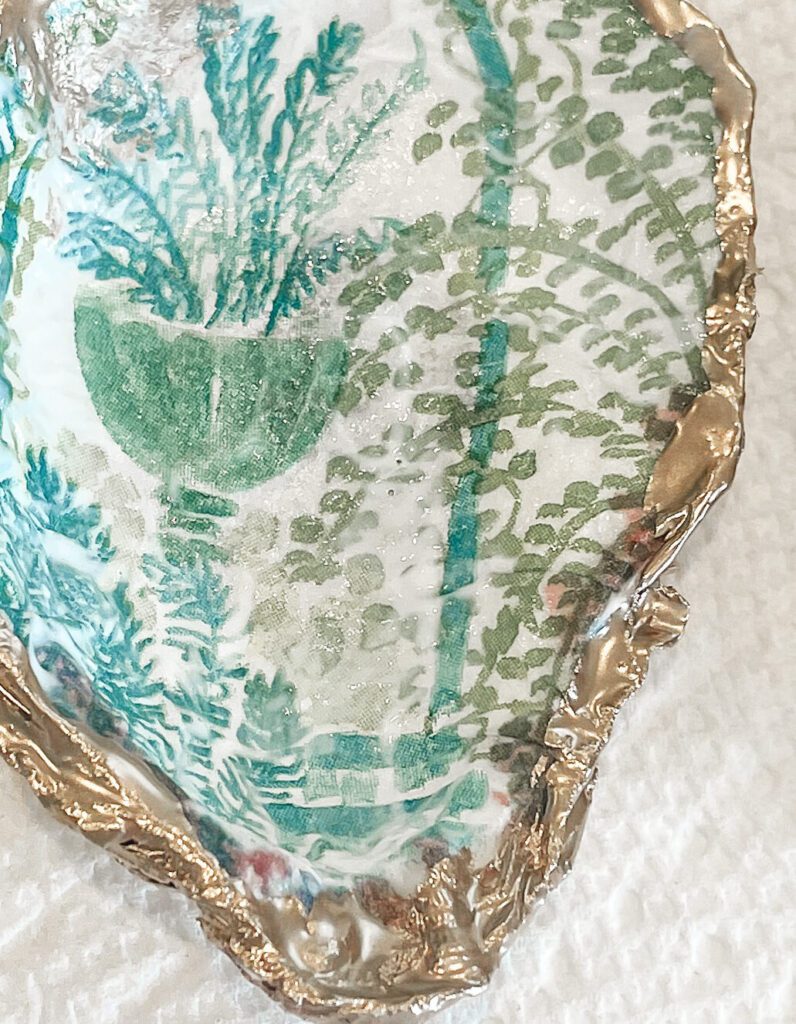
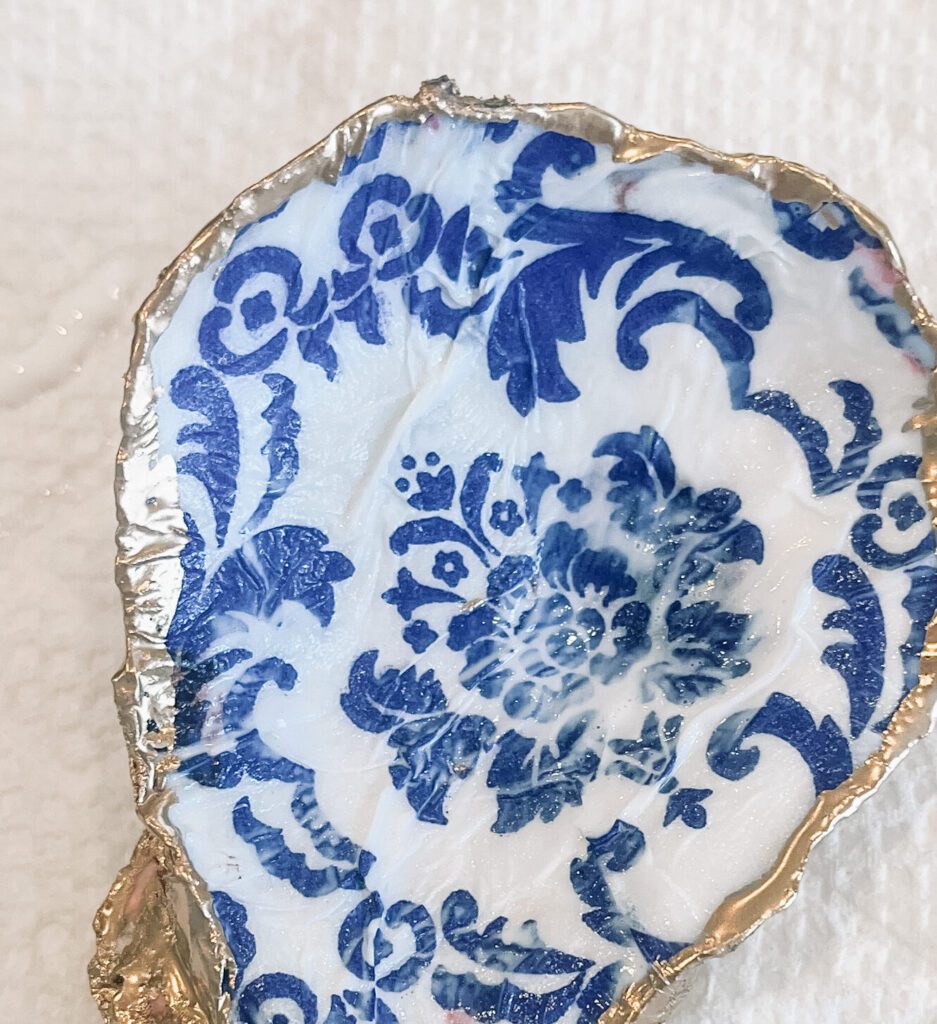
I prefer the gold look, but really you could pick any color for the back side of the shell. I really like this premium gilding paint, as it covers very nice and has a beautiful color. Paint the full backside of the oyster shell. Once it is completely dry turn over and paint a thin line of paint where the napkin meets the shell. This give a beautiful detailed finish and also hides any imperfections in tearing the napkin. Let the shell dry all the way.
Step #4: Finish the project with sealer
Bring your project outside and spray a heavy layer of Mod Podge Sealer on both sides of the shell, allowing to dry before flipping to the other side. The gloss finish looks amazing for this project.
Step #5: You did it!
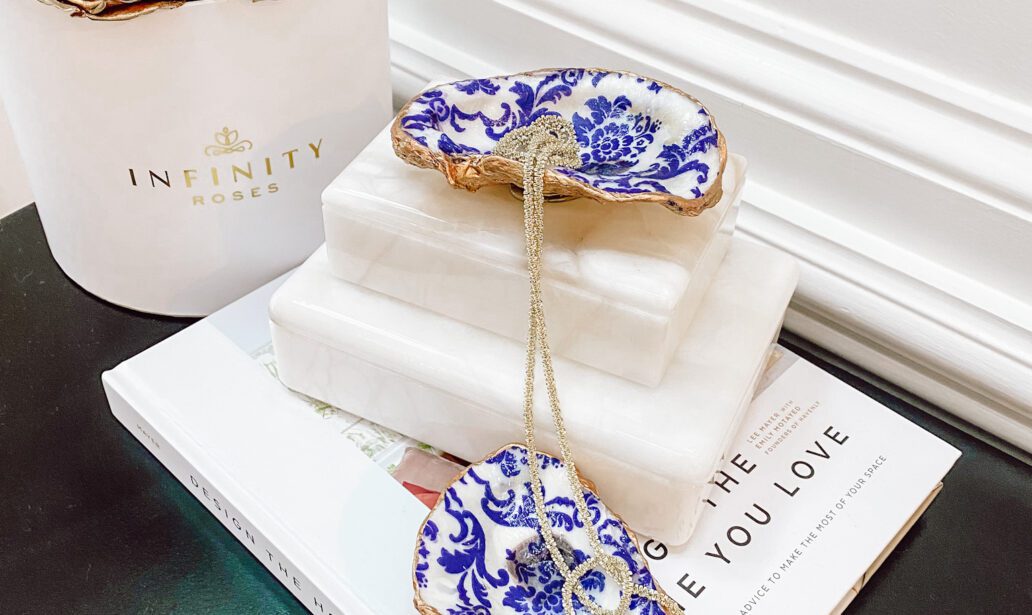
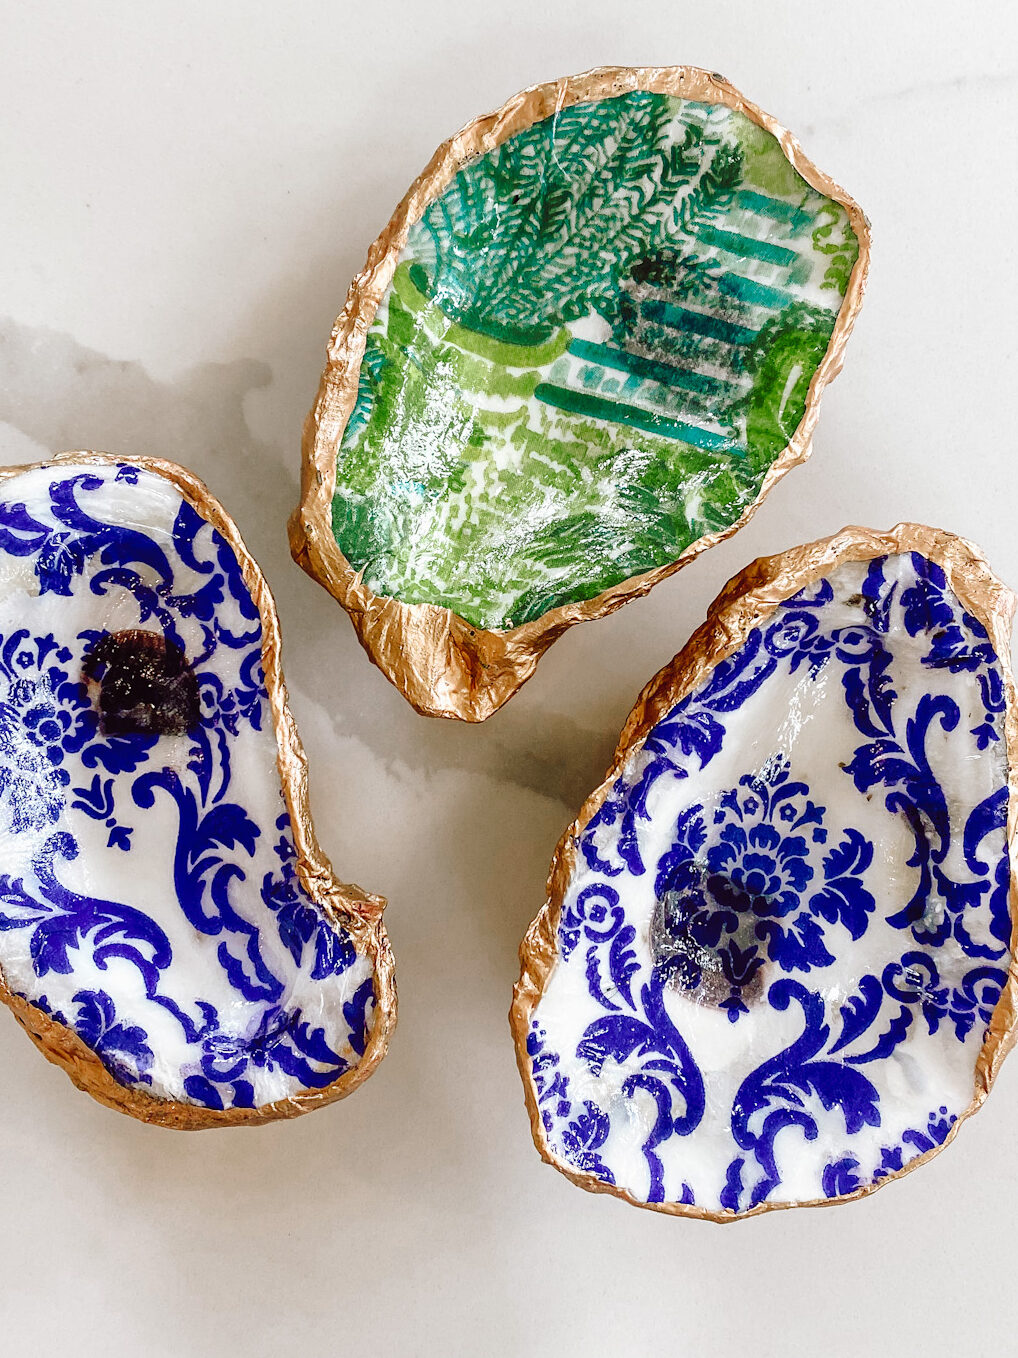
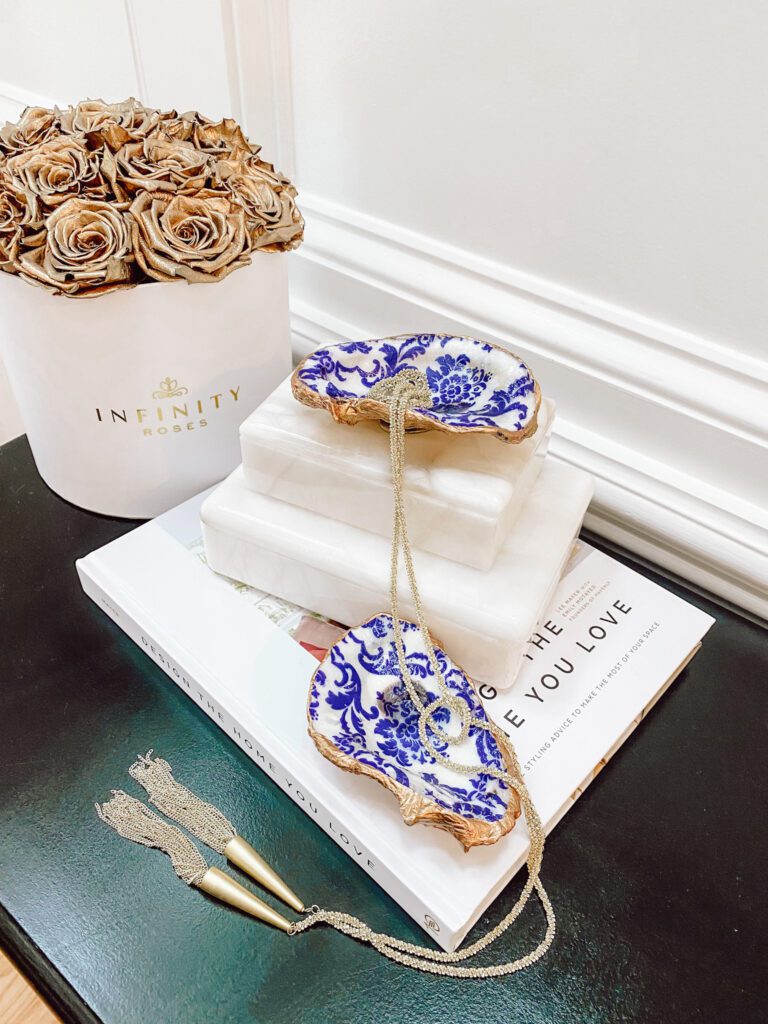
Style on your bedside table or package for a hostess gift! Another way to use the shells is as an ornament. To do this, use a drill to make a hole in the smaller side of the shell and add a string to hang. Ornaments work best on shells that are flatter and don’t have a deep curve. A friend of mine made these with cocktail napkins from a wedding she attended and gifted to the bride. What an amazing gift!
For more craft inspiration check out the Crafts section of our blog here.
