

*This post may contain affiliate links. We may earn a commission on purchases made after clicking on these links. We only recommend products we believe in. Thank you for your support!
Supplies Needed:
- Planters (should be wider/deeper than plant you are using, to give realistic look)
- Potting Soil
- Drill (do not need if planters already have drainage hole)
- Plants (3 different types explained below)
- Landscaping Rock (inexpensive landscaping rock)
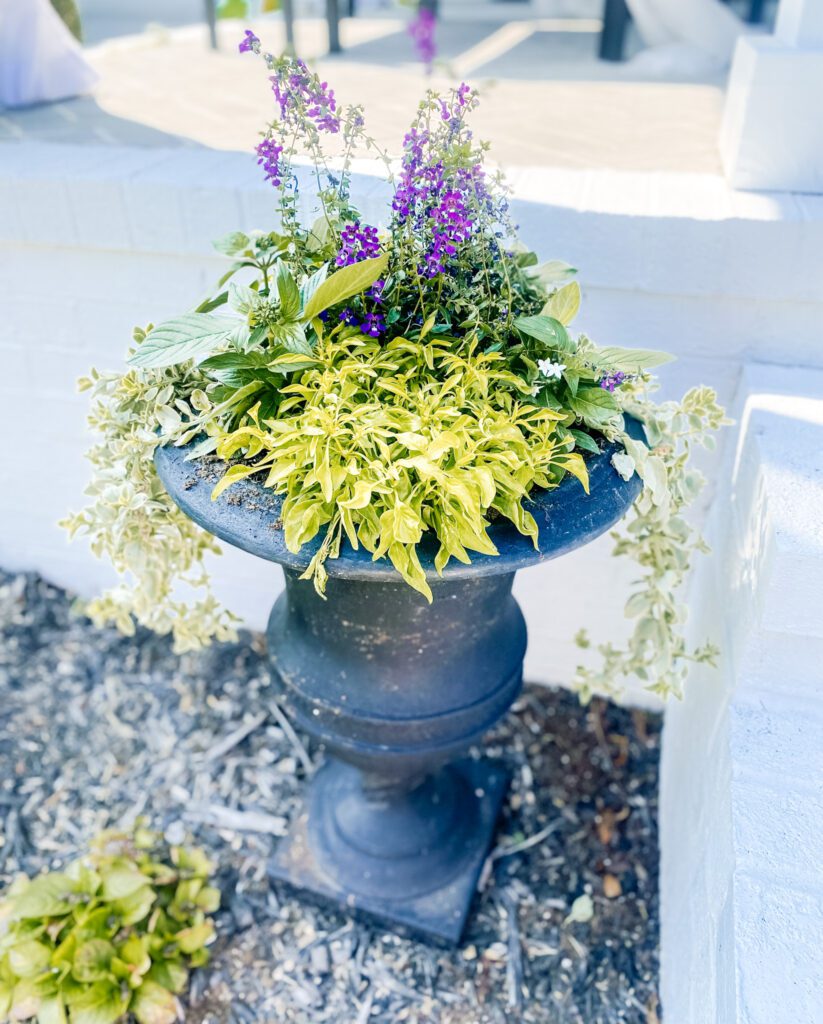
I love the look of a full planter with cascading greenery overflowing the side. Follow these simple steps to learn How to Make a Beautiful Cascading Planter of your own.
Step #1 – Select Planters and Paint them Desired Color if Needed
You want to be sure to select planter pots that are wider and deeper than the plants you are putting inside them to allow some room for growth. If the perfect shape and size planter is not your preferred color, you can easily paint it. Check out our No Mess Faux Topiary Planters post for tips on painting planters.
If your planter does not have a drainage hole, you will want to drill one hole at the bottom of each planter.
Step #2 – Select Plants using a 3 Tiered System
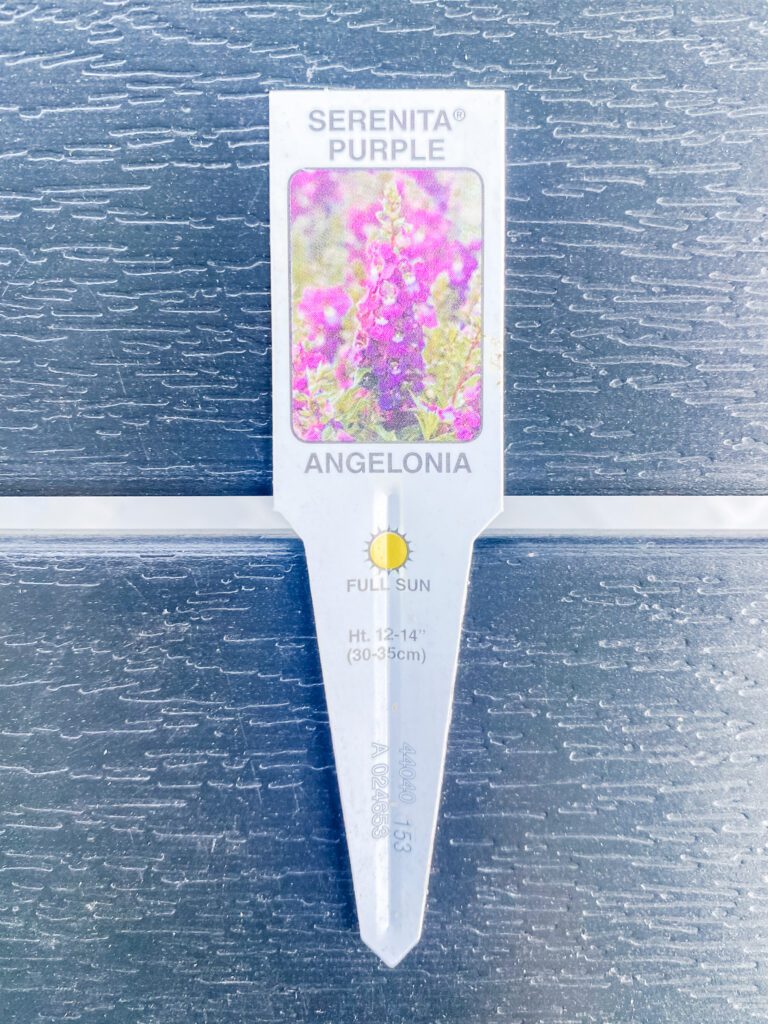
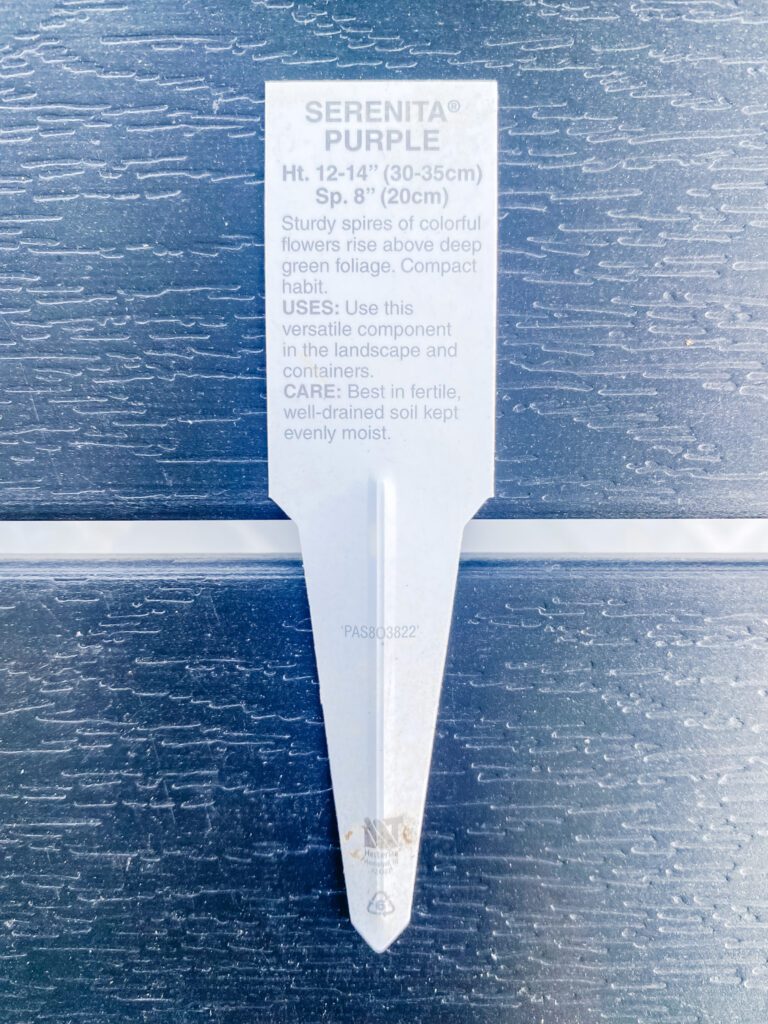
You want to be sure to select plants that will grow properly in the area where you will place your planter. First, determine if your planter will receive full sun, partial sun/shade, or full shade. Once you have determine this, be sure to select plants that all thrive within that category, most plants are labeled full sun, partial sun/shade, or full shade. But you can always ask a store associate if you have any questions.
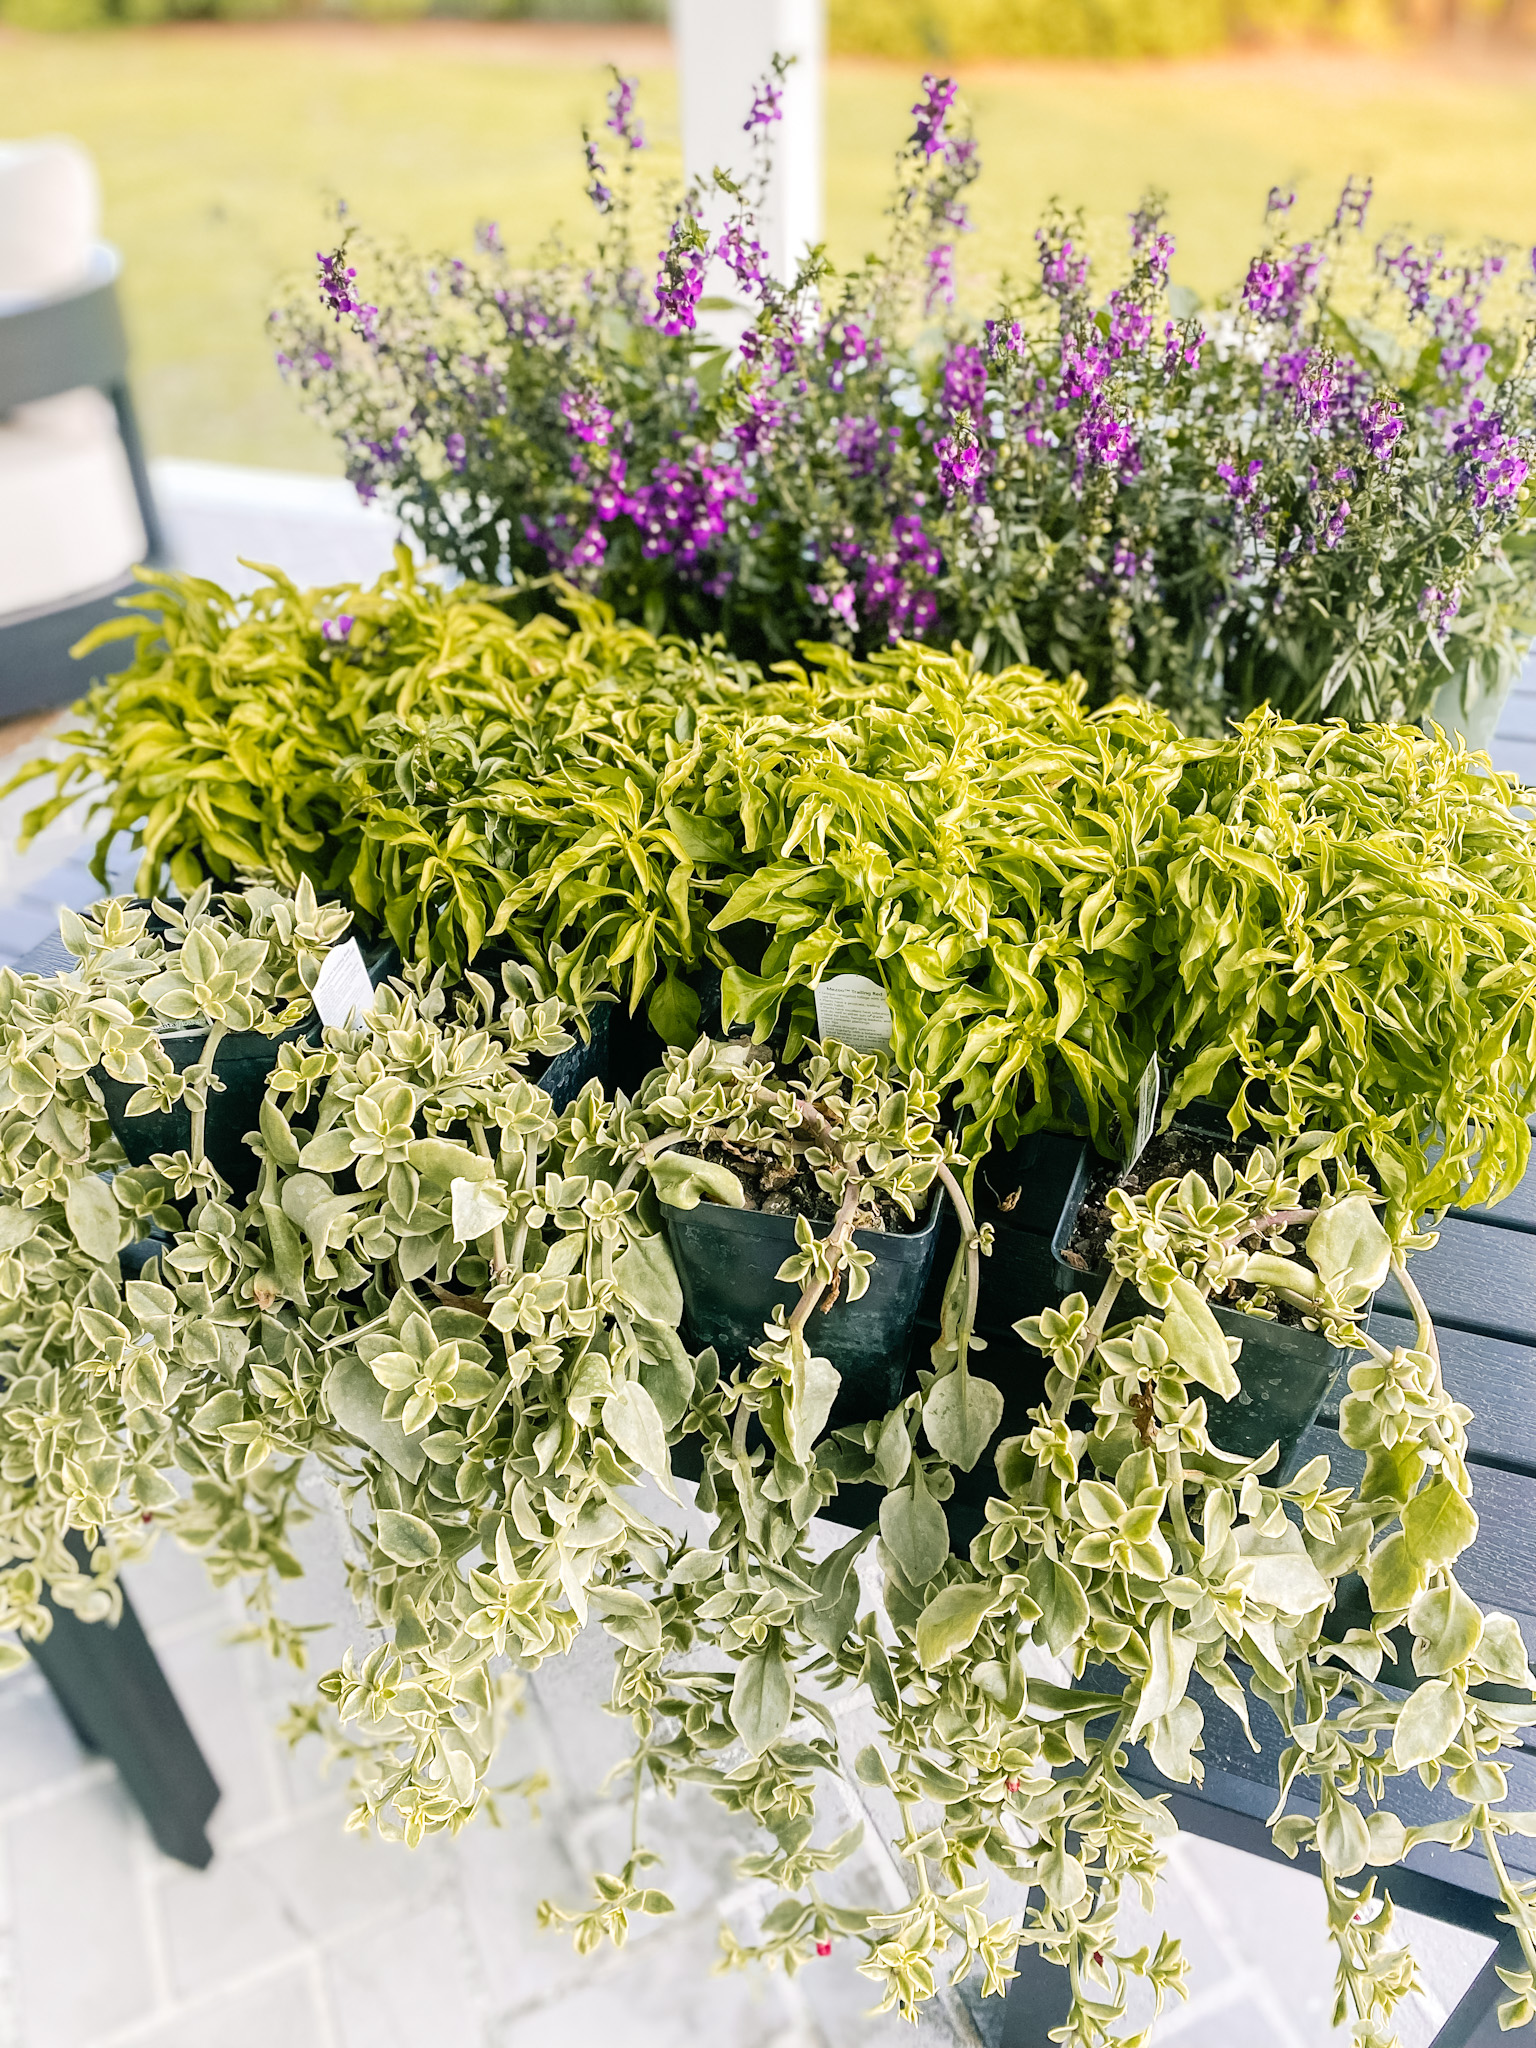
You want to select plants in a Three Tiered System.
Tier 1: The Center Plant – this should be something that either “mounds” or grows straight up, to give the planter a full, tall center. This will likely be labeled on the plant as well but you can always as for assistance.
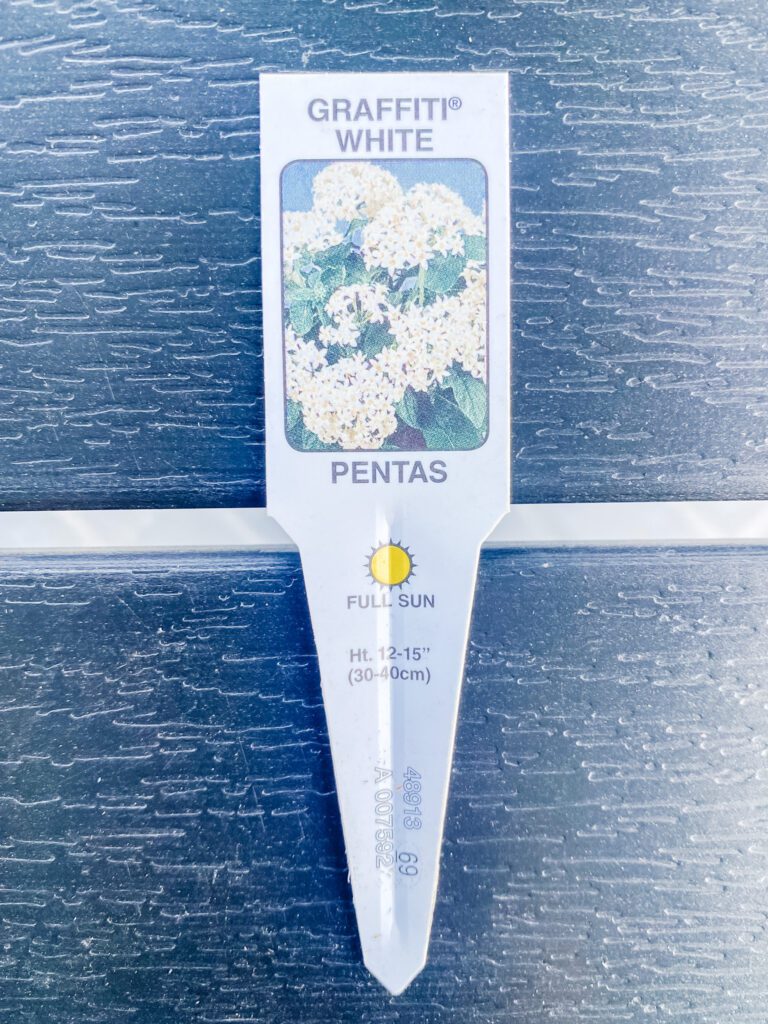
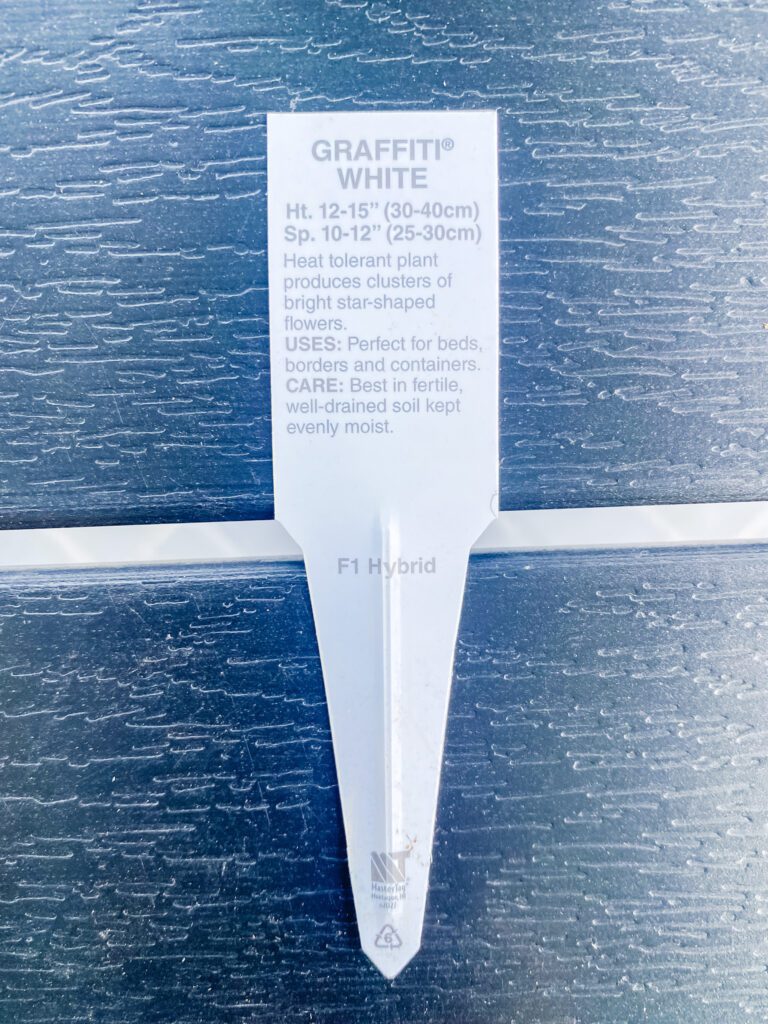
Tier 2: The Filler Plant – this is the second level of the planter, and is used to create a filler space. This plant should not be as tall or mounding as the center plant, but stay at a shorter height and size. I selected two filler plant types and alternated them, every other. The Pentas can be broken down into thirds which is great if you need a small spot to fill around this level.
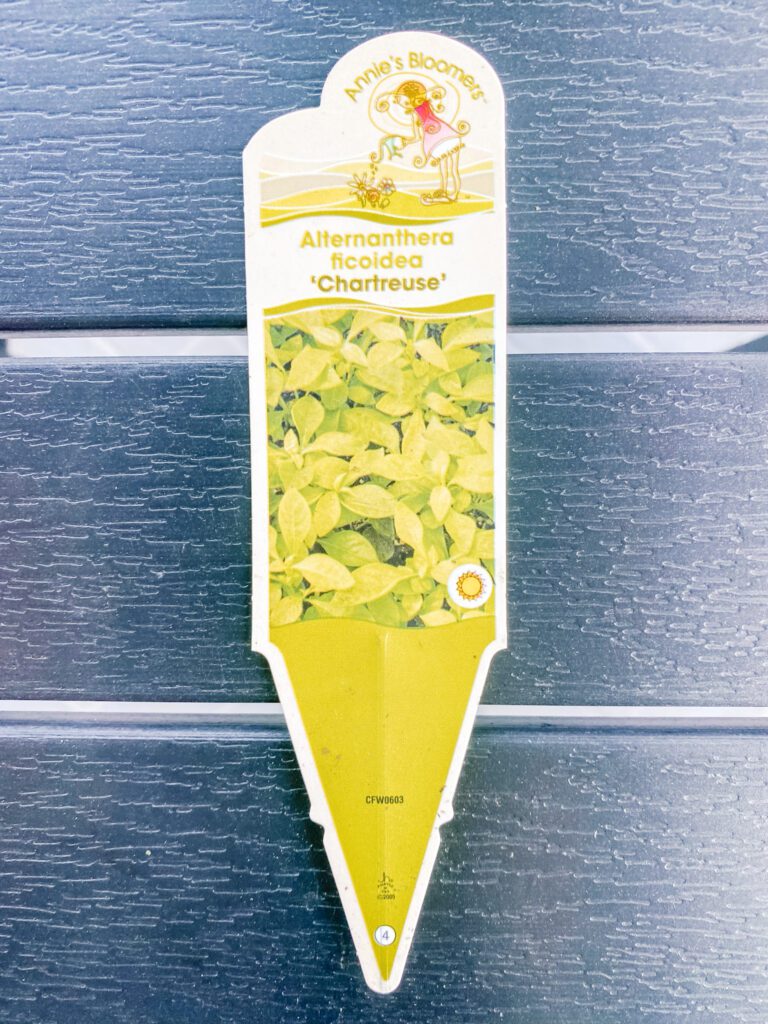
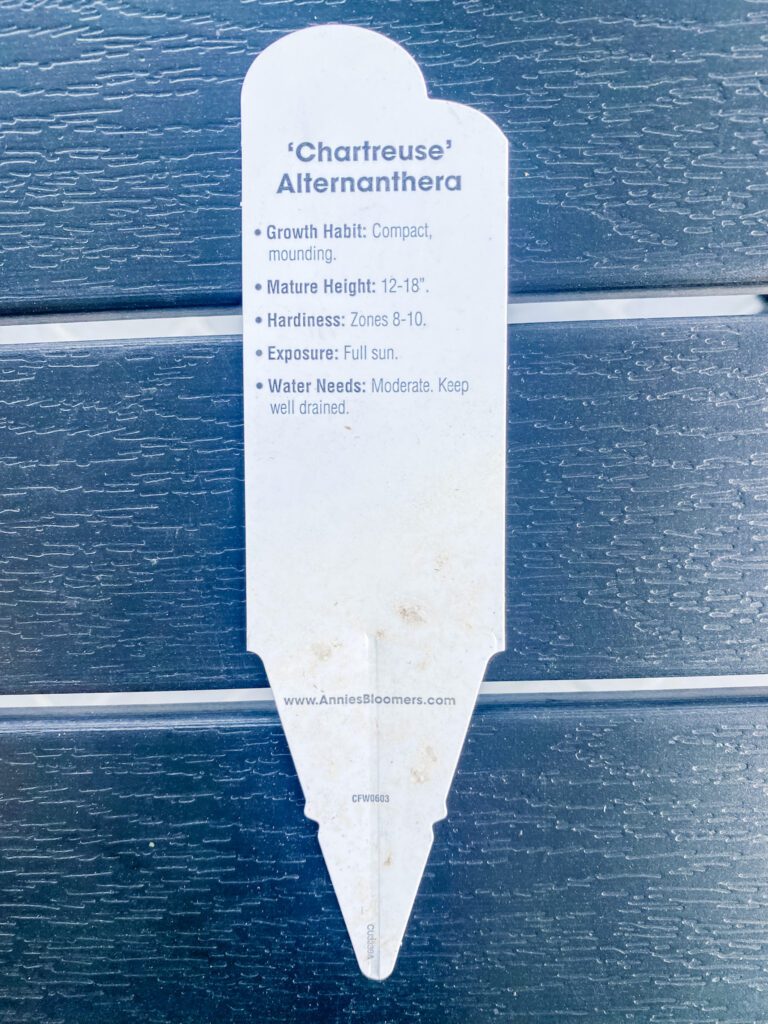
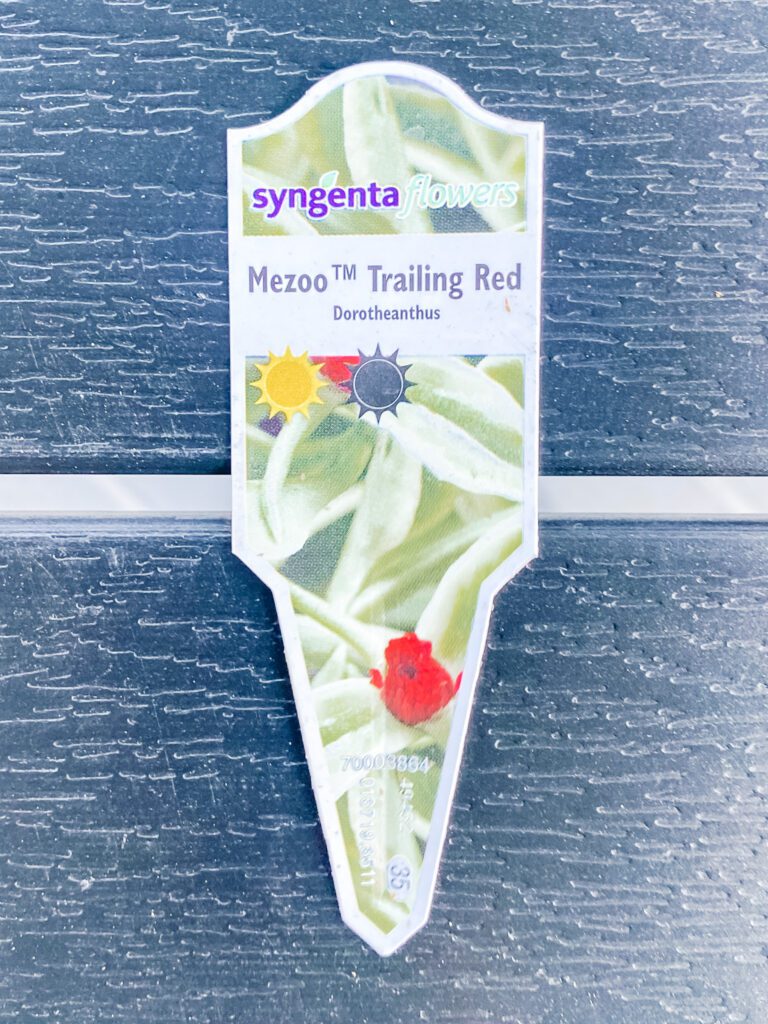
Tier 3: The Cascading Plant – This is the third level of the planter and should be a plant that is meant to cascade off the side of the pot, almost like an ivy. There are so many fun options for this. Below is the plant I chose, which is gorgeous! I also love Creeping Jenny for this level as it provides such a beautiful pop of color and grows great throughout the summer.

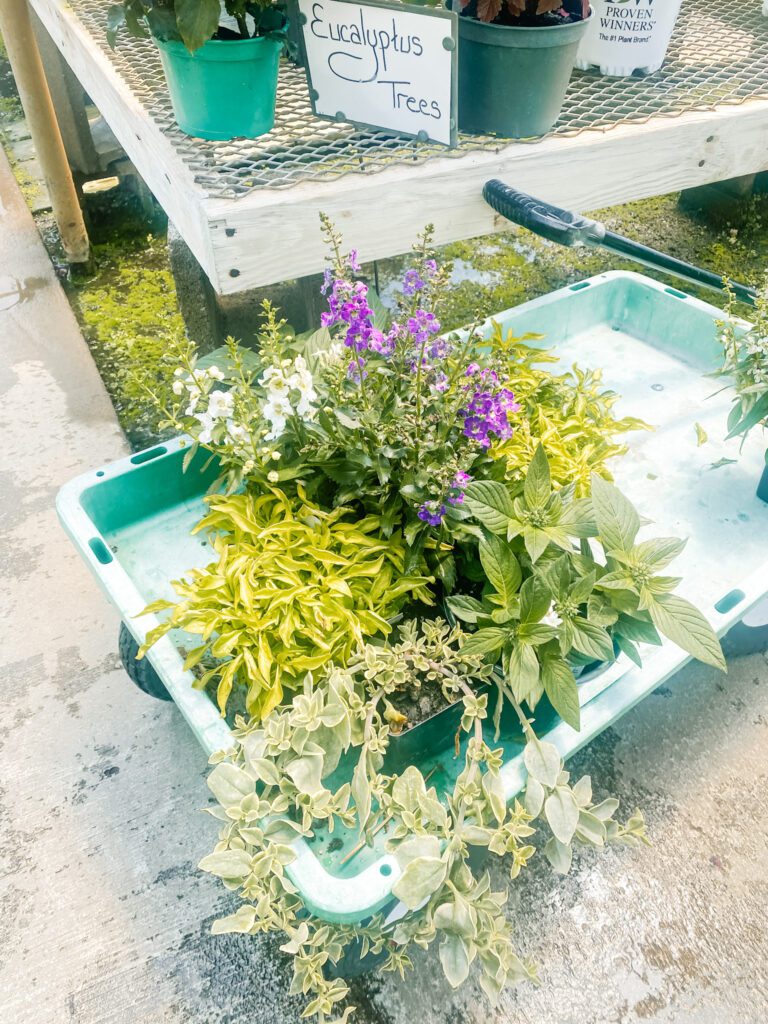
When shopping at the store (I went to a local plant nursery but Home Depot usually has amazing options as well), bring around a cart and grab a plant for each tier to see how they look together, testing them out until you have determined the plants that you prefer.
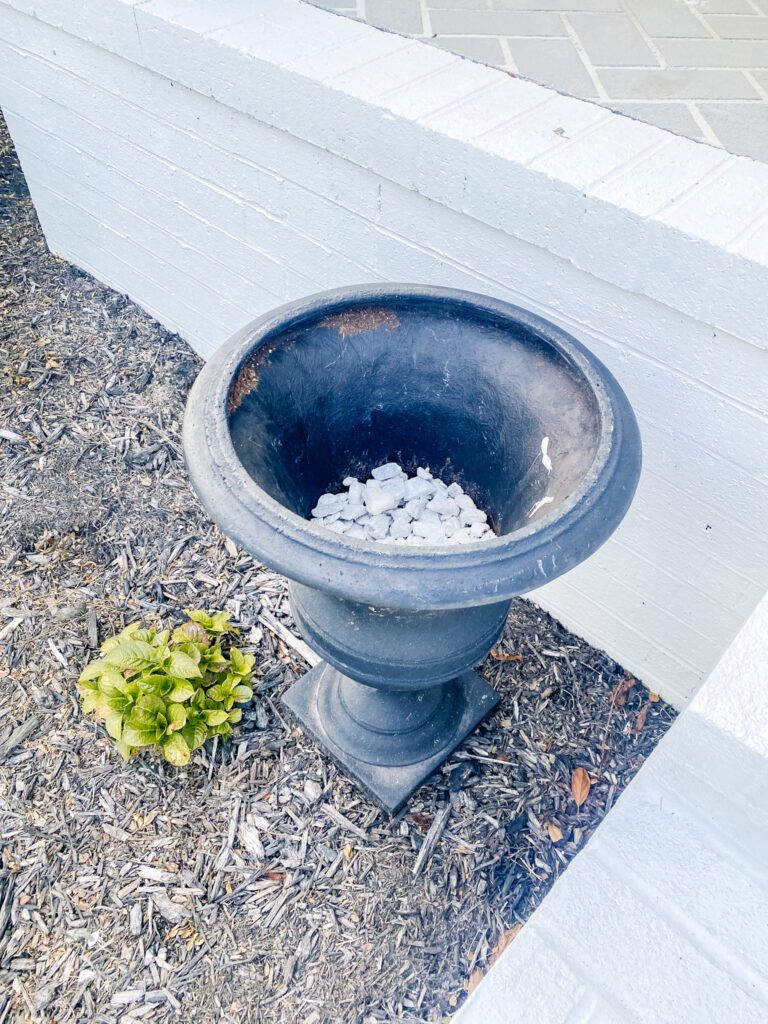
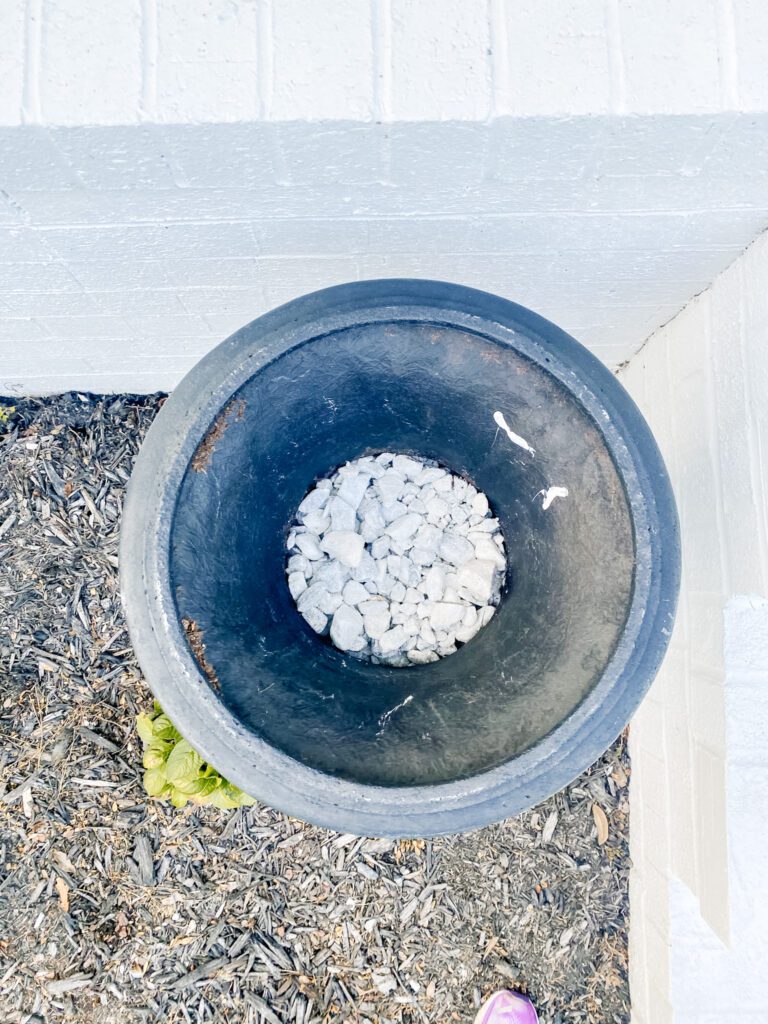
Step #3 – Pour rock in bottom of planters
We used inexpensive white landscaping rock. It was perfect for weighting down the planter and it will not be seen so the color was not a factor.
This step is important because it weighs down your planters and allows for proper drainage. You can pour this about 3/4 the way up in your planters.
Step #4 – Pour Potting Soil and Level Plants with Top of Planter
Before you put your plant in, you want to pour a layer of potting soil to get the base of the plant level with the top of the planter. You may have to adjust how much soil you have under the plant to get the height where you want it. Make sure your plant is not sitting too high where the roots will dry out or too low where they will remain too wet. Ensure the roots are fully covered with soil. I like to start with the Tier 1 and work my way to Tier 3.
Step #5 – Water Planter per Plant Instructions
If your planter is in full sun and you selected full sun plants, these thrive in warm environments and likely only need to be watered every 3 days or so. If the leaves or plants are looking witty, they likely need a drink of water. Tend to dead leaves and ‘clean up’ plants as needed to keep them blooming and healthy all season.
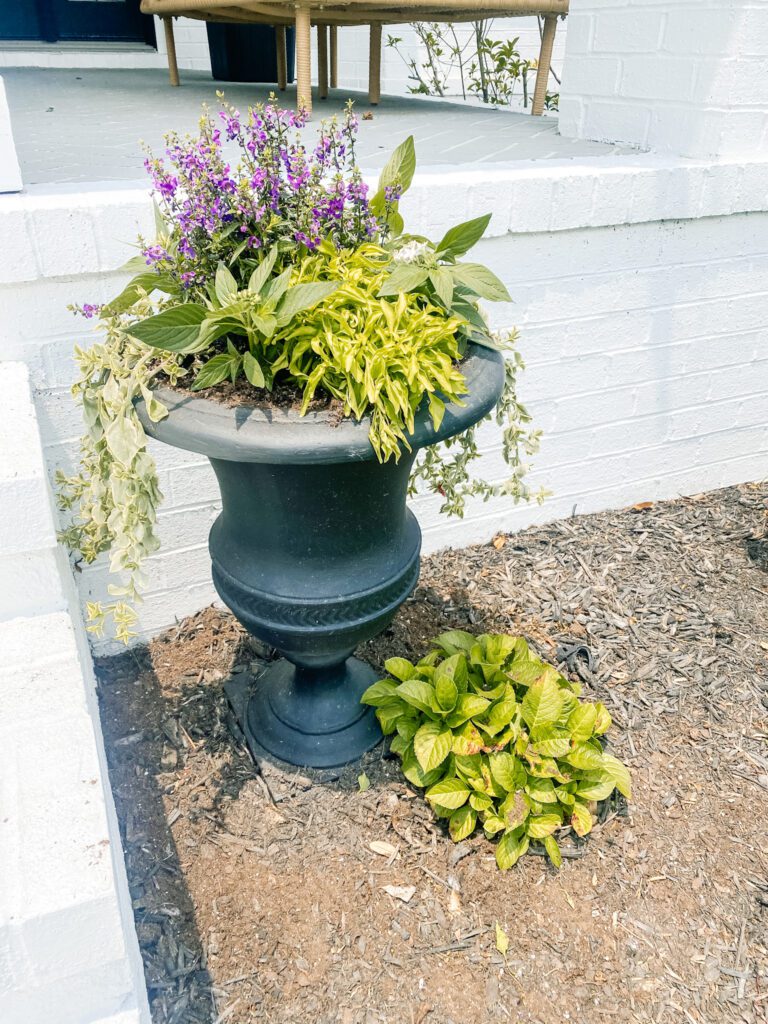
Bask in the beauty of your new Planter
And Voilà , you have just improved your curb appeal in a matter of minutes!
We hope you enjoyed learning How to Make a Beautiful Cascading Planter. For more home inspiration, check out the Home section of our blog here!