*This post may contain affiliate links. We may earn a commission on purchases made after clicking on these links. We only recommend products we believe in. Thank you for your support!
Step #1: Start by gathering your supplies
You’ll need the following:
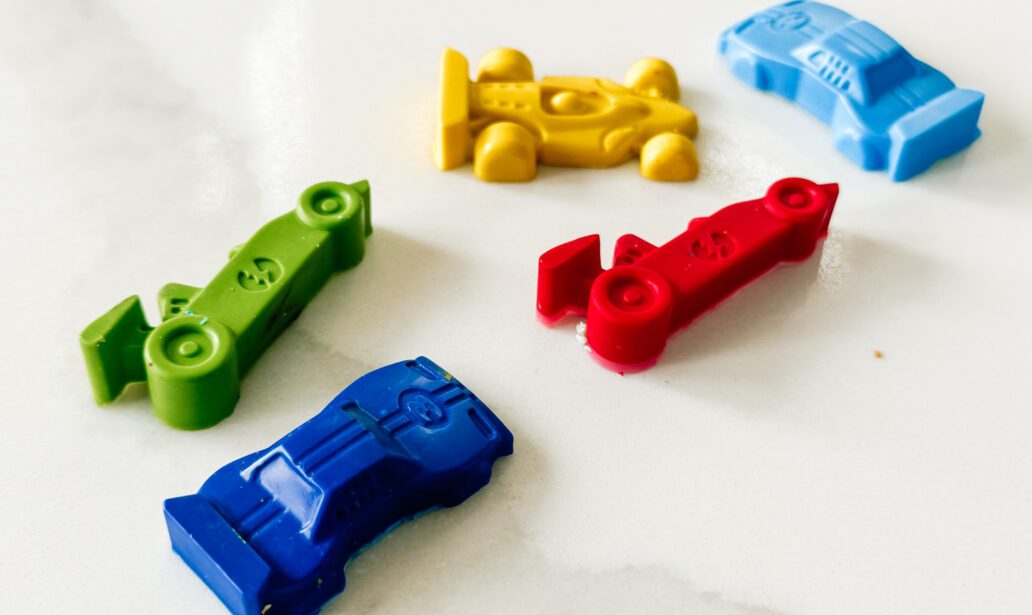
These crayons are so easy to make and make great party favors or fun supervised crafts with your kids.
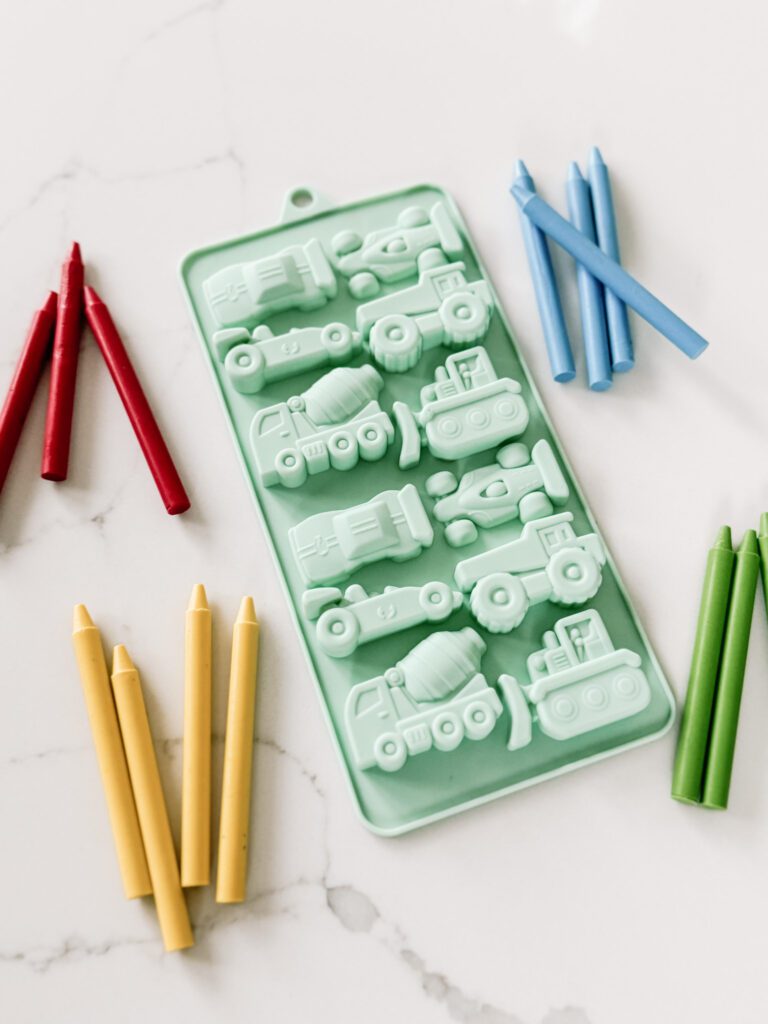
Step #2: Cut or Break the Crayons into small pieces
Unwrap the crayons if not already unwrapped and cut or break into very small pieces. I used scissors to cut into small pieces so they fit better inside the molds. If doing with kids, you could have them unwrap the crayons or break the crayons with their hands for a safer way to participate.
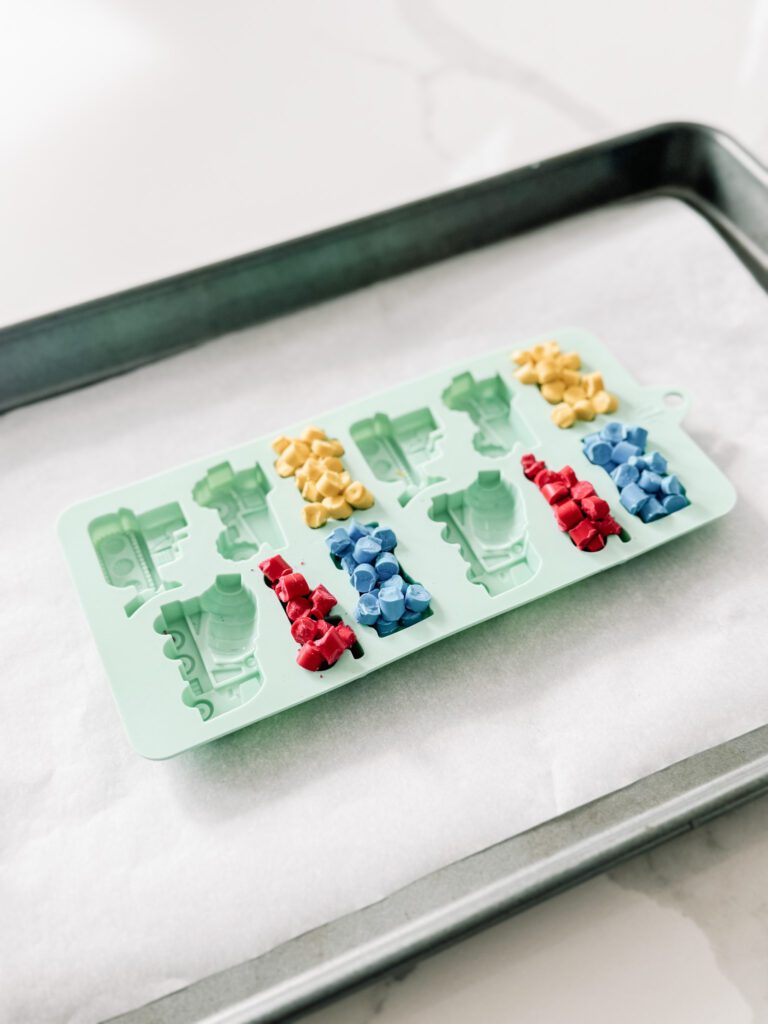
Step #3: Fill mold with Crayon Pieces and Melt in Oven
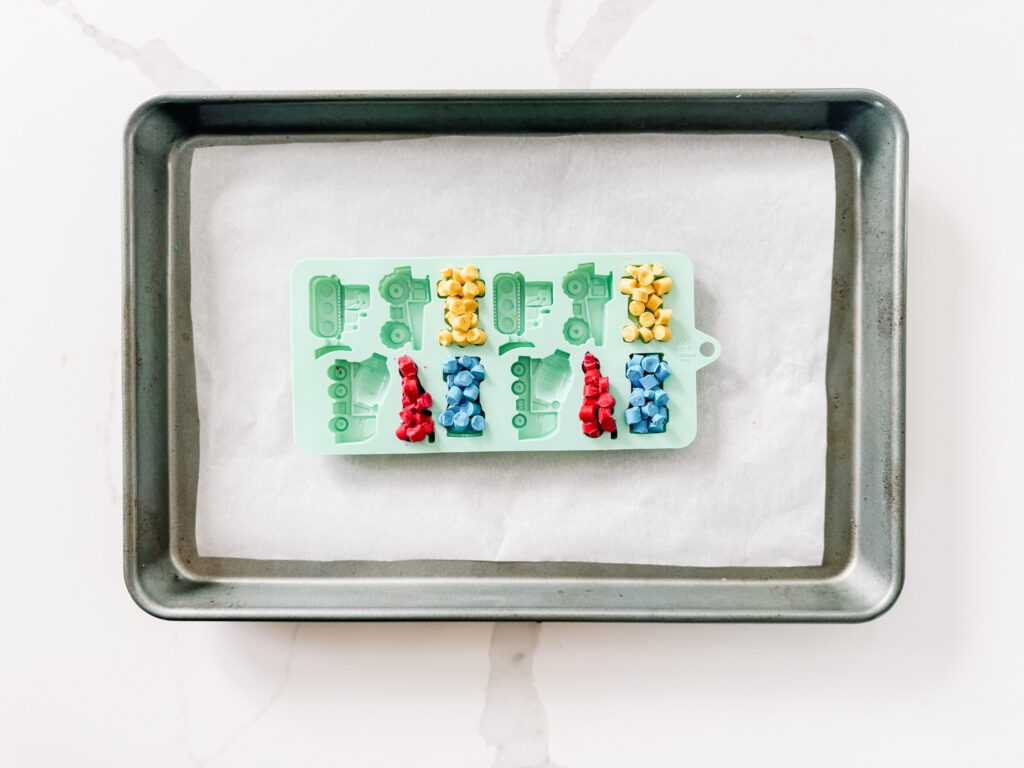
Fill silicone mold with crayon pieces and put in oven at 300° for 10 minutes or until melted.
Step #4: Remove from Oven once melted and Let Cool
Remove from oven and swirl a toothpick through each crayon mold. I suggest using a different toothpick for each color, if you do not want to mix. This should help bring any bubbles to the top of the mold. You may even gently tap the tray on the counter to bring the bubbles to the top. Pop any bubbles with the toothpick that do appear. Set mold aside to cool and set.
Step #5: Pop Crayon out of Mold and Enjoy
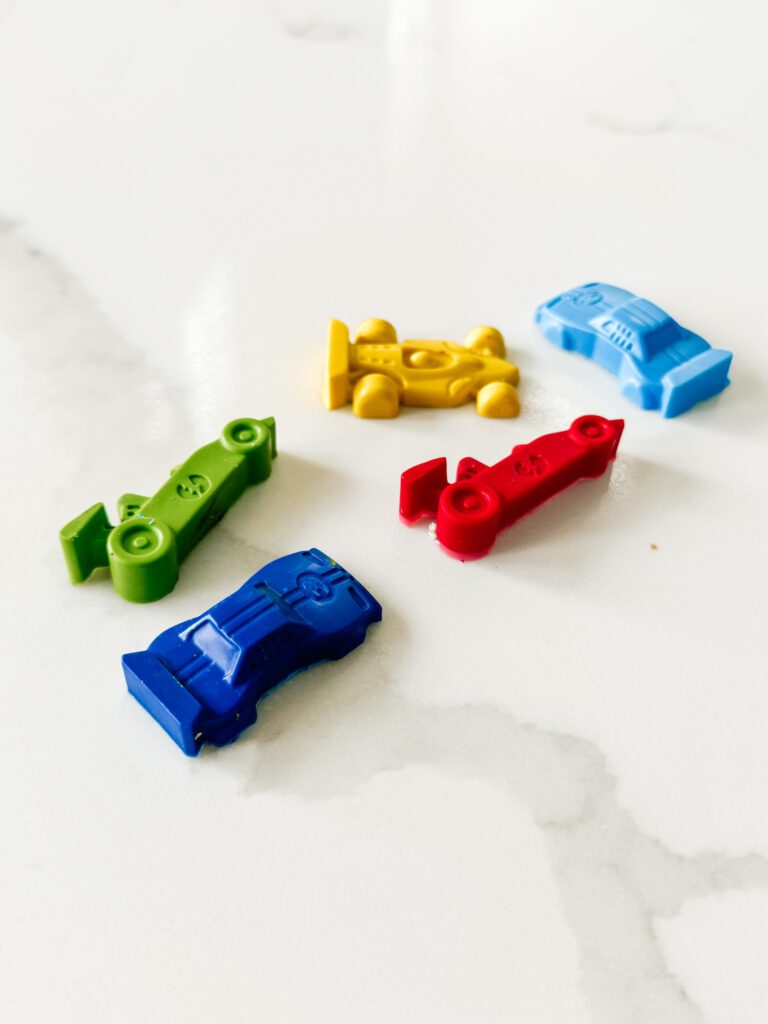
Once crayons are completely cooled, gently pop them out of the mold, being careful not to crack the new crayon shape. Package with a coloring sheet for a party favor or gift or simply use them to create art and enjoy! Check out our free coloring sheet below!
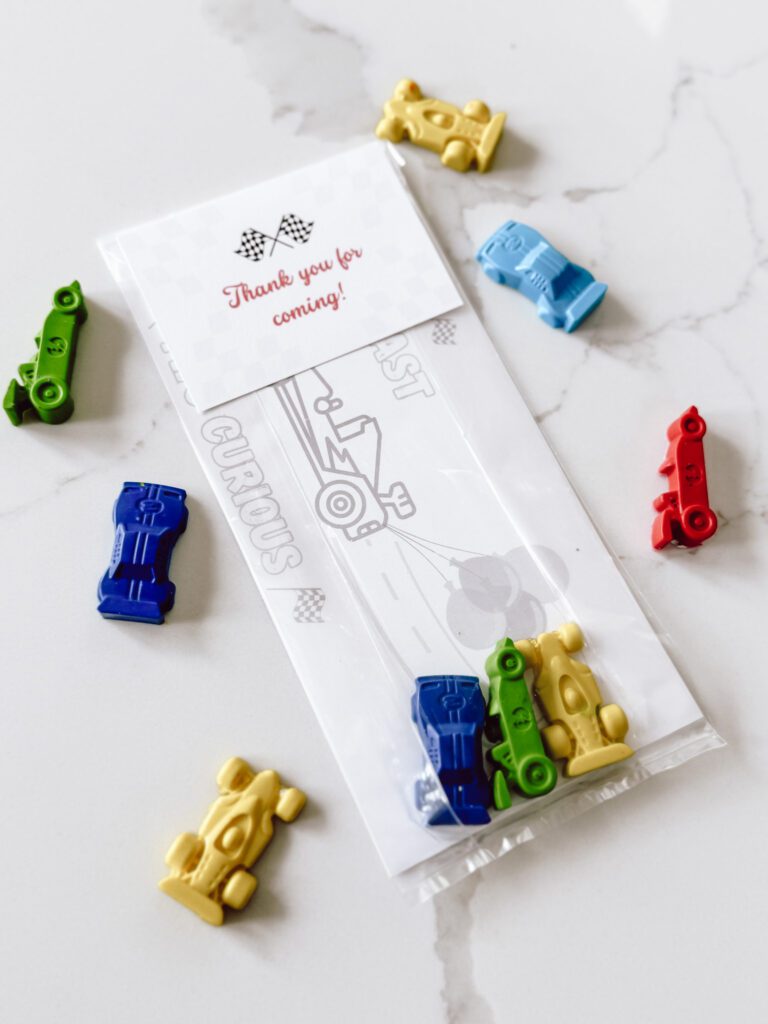
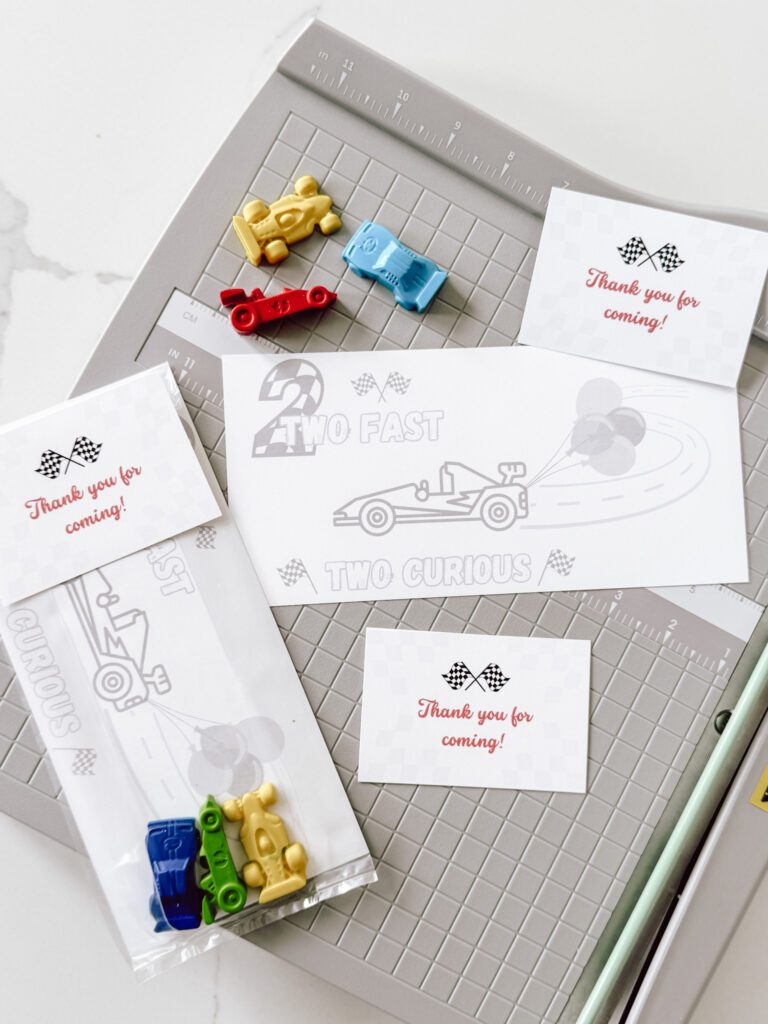
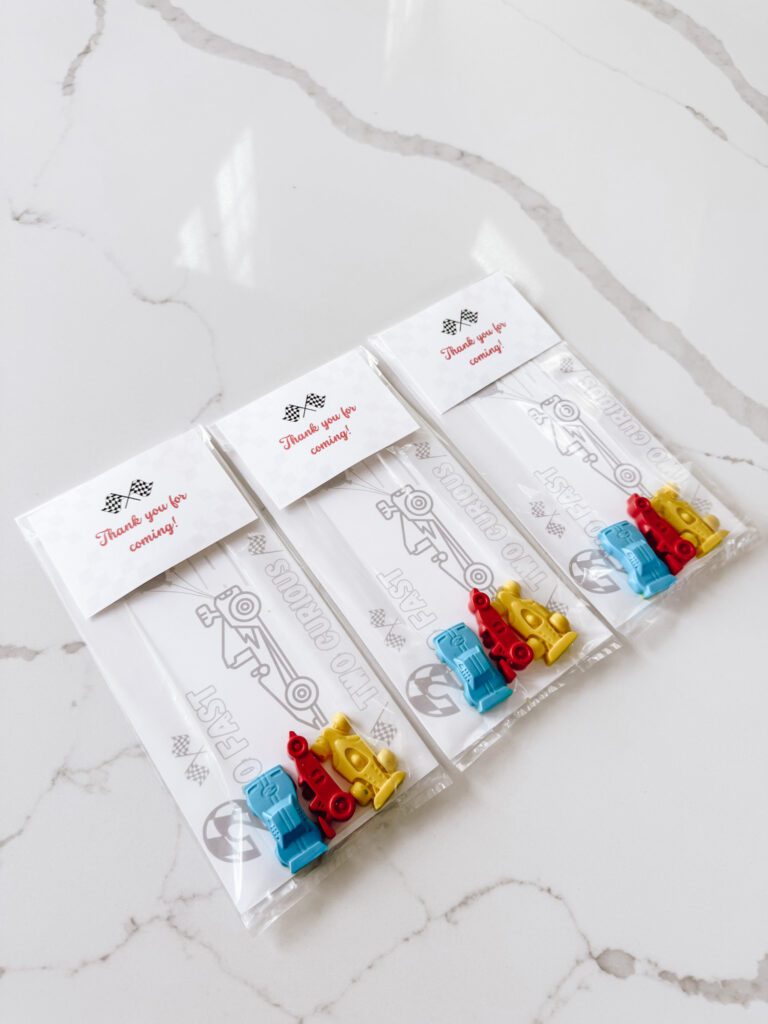
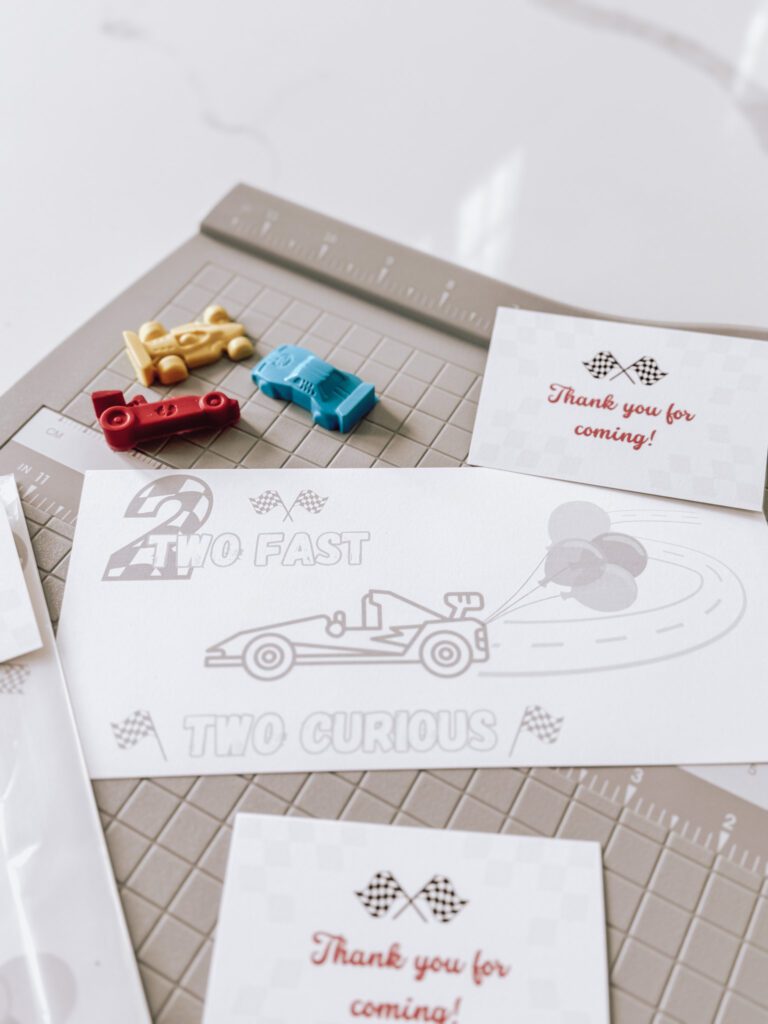
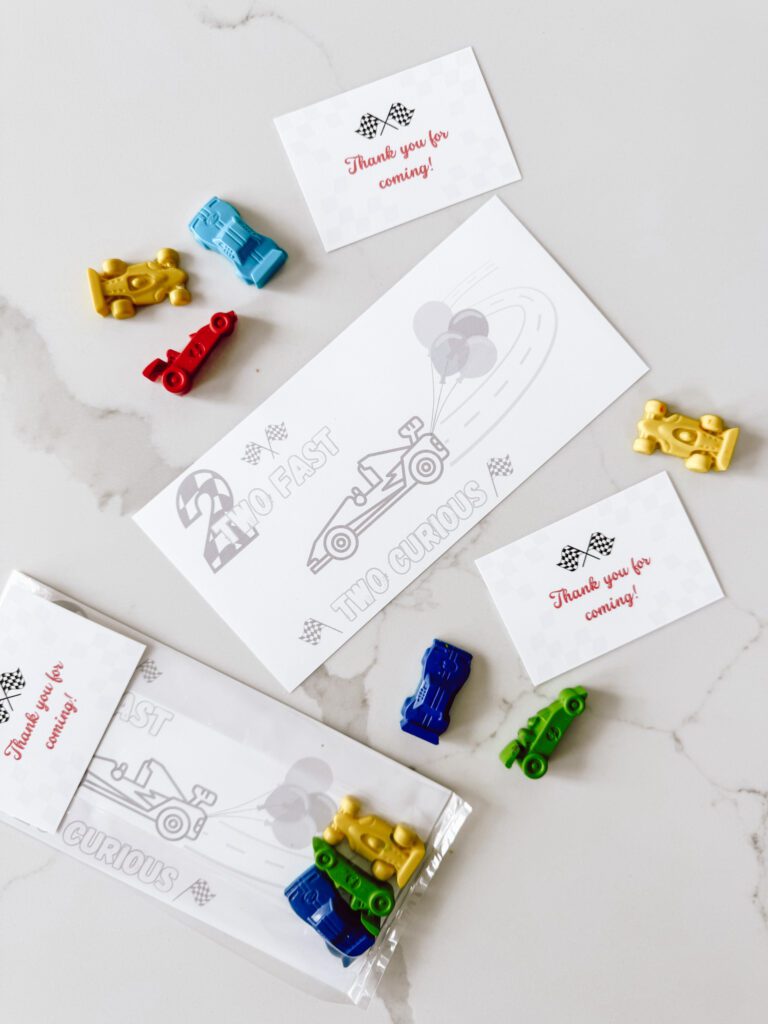
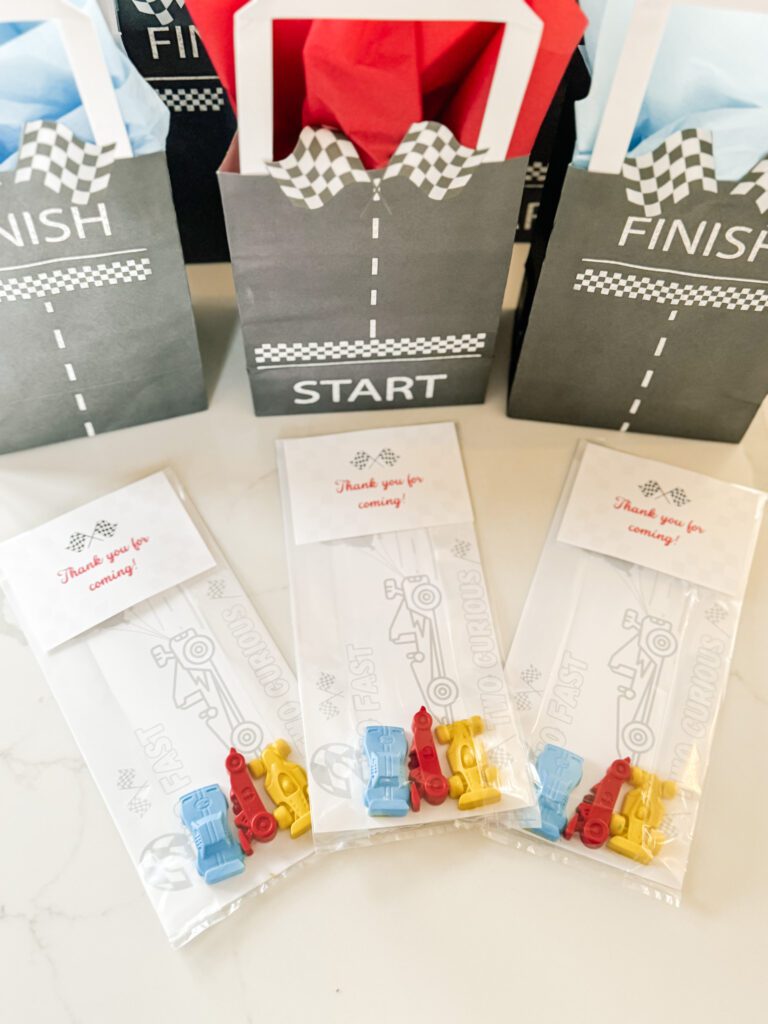
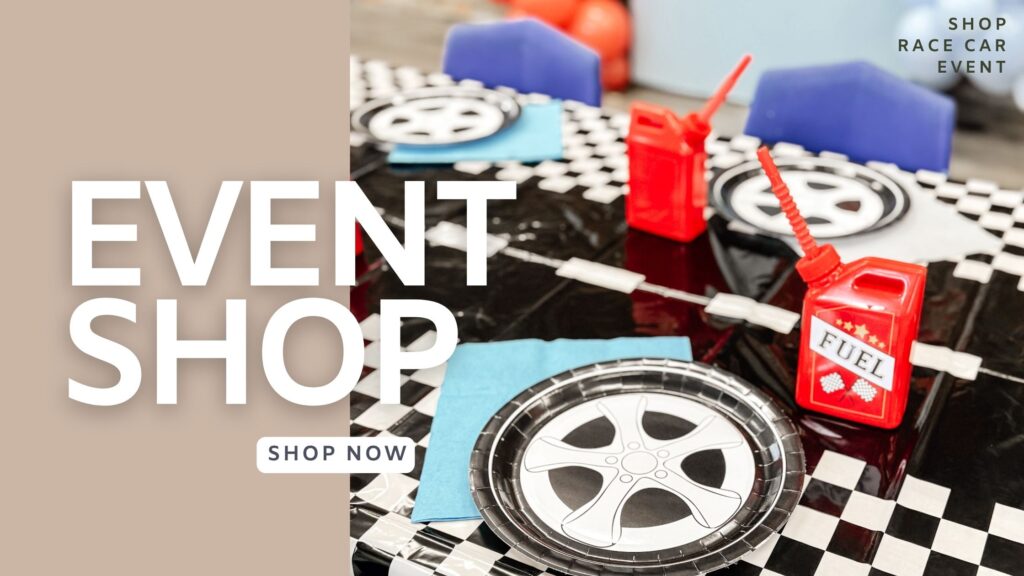
If you are interested in seeing our full Race Car Themed Birthday party, check out our Two Fast Two Curious Birthday Party Here!
We hope you enjoyed learning How to Make Custom Crayon Molds. For more craft inspiration check out the Crafts section of our blog here.
