How to Paint Dated Railings

How to Paint Dated Railings
Follow these simple steps to learn how to paint dated railings. This inexpensive DIY project will transform your dated railings.

This post may contain affiliate links. We may earn a commission on purchases made after clicking on these links. We only recommend products we believe in. Thank you for your support!
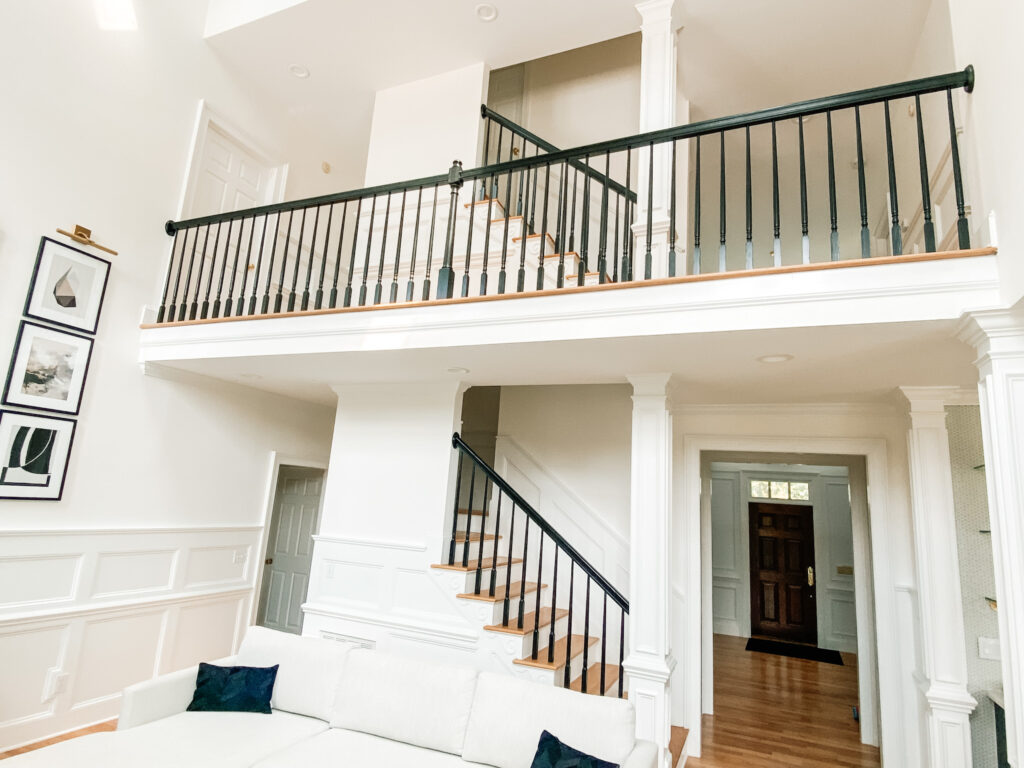
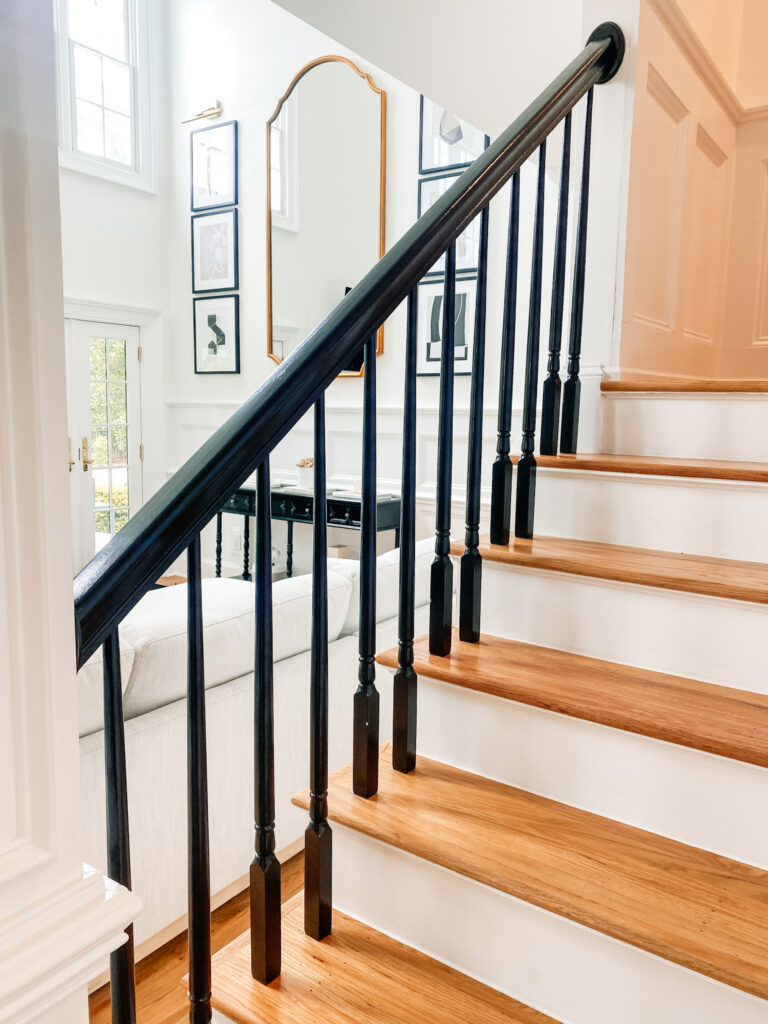
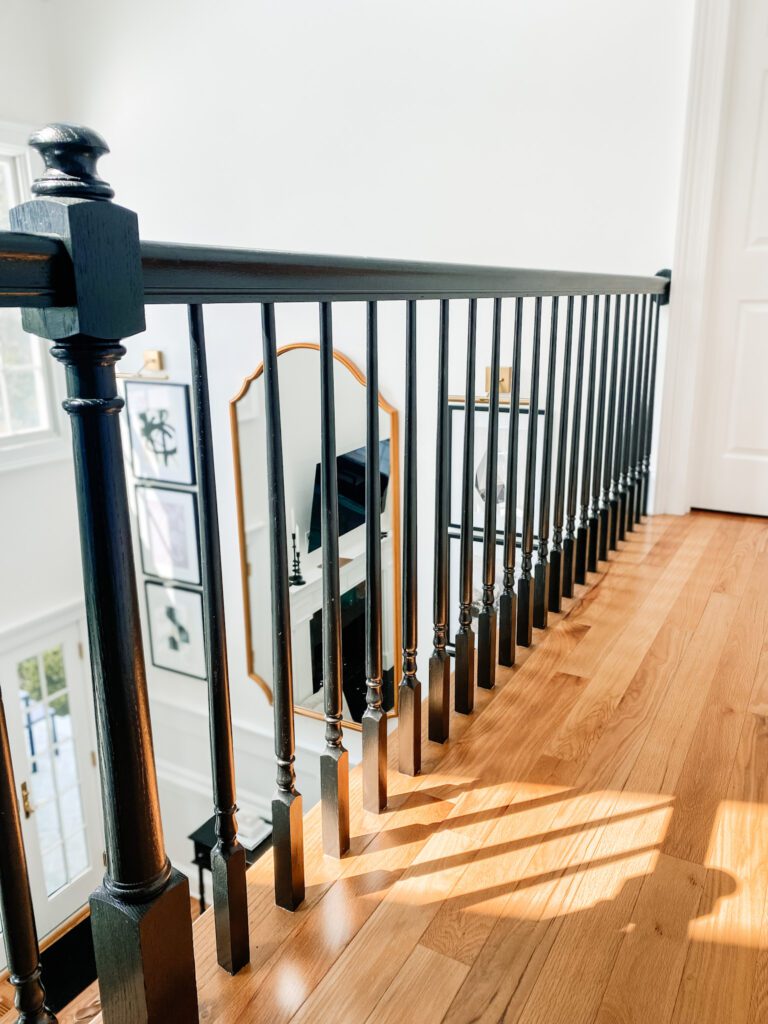
Painted black railings

Step #1: Start by gathering your supplies

You’ll need the following:

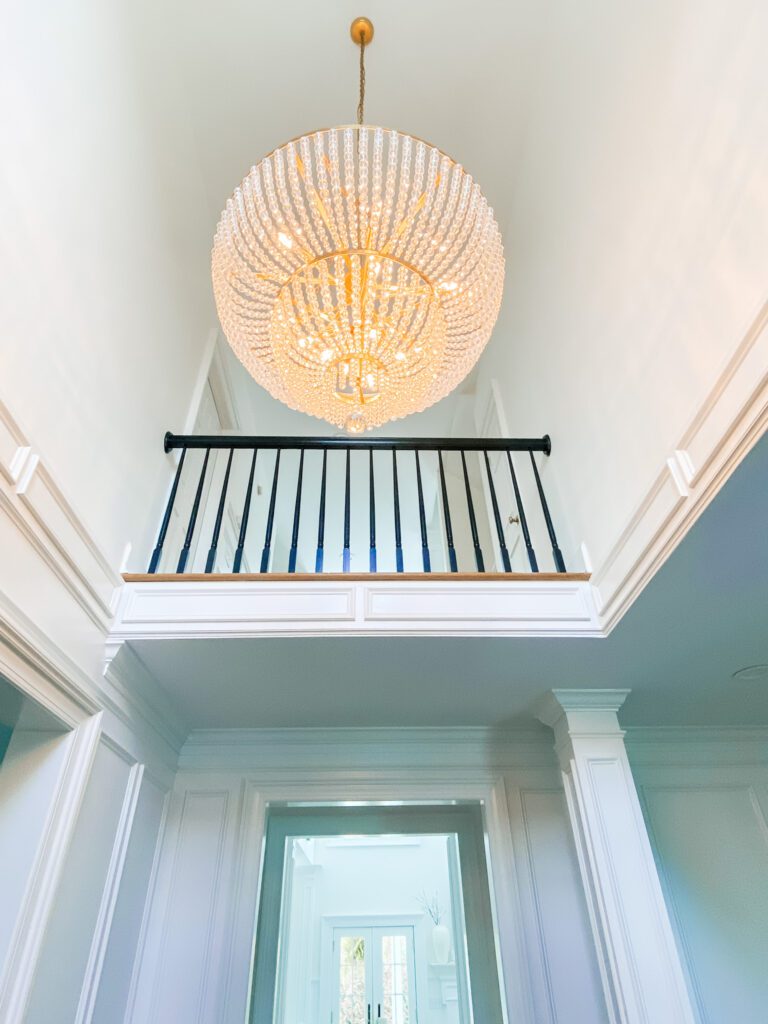
Painted black railing and vintage chandelier

I’ve had excellent success with this Benjamin Moore Paint. My railings are 1.5 years in and still look freshly painted with no chips. I also did not feel the need to sand with this paint because it covers so well and lays super flat.
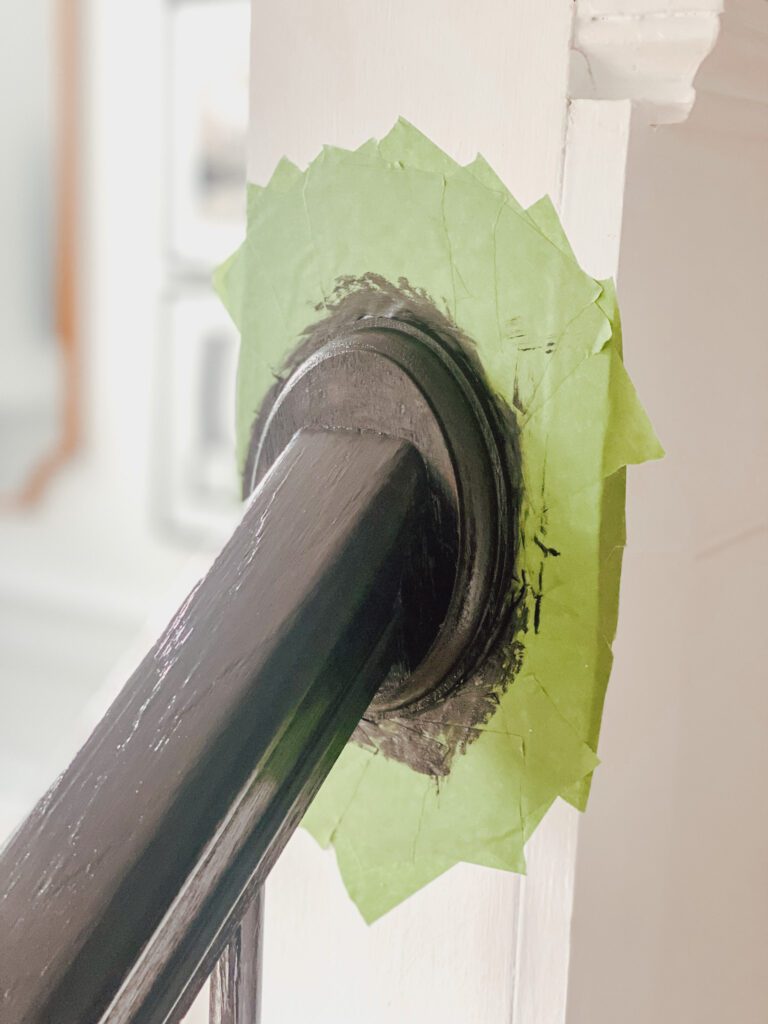
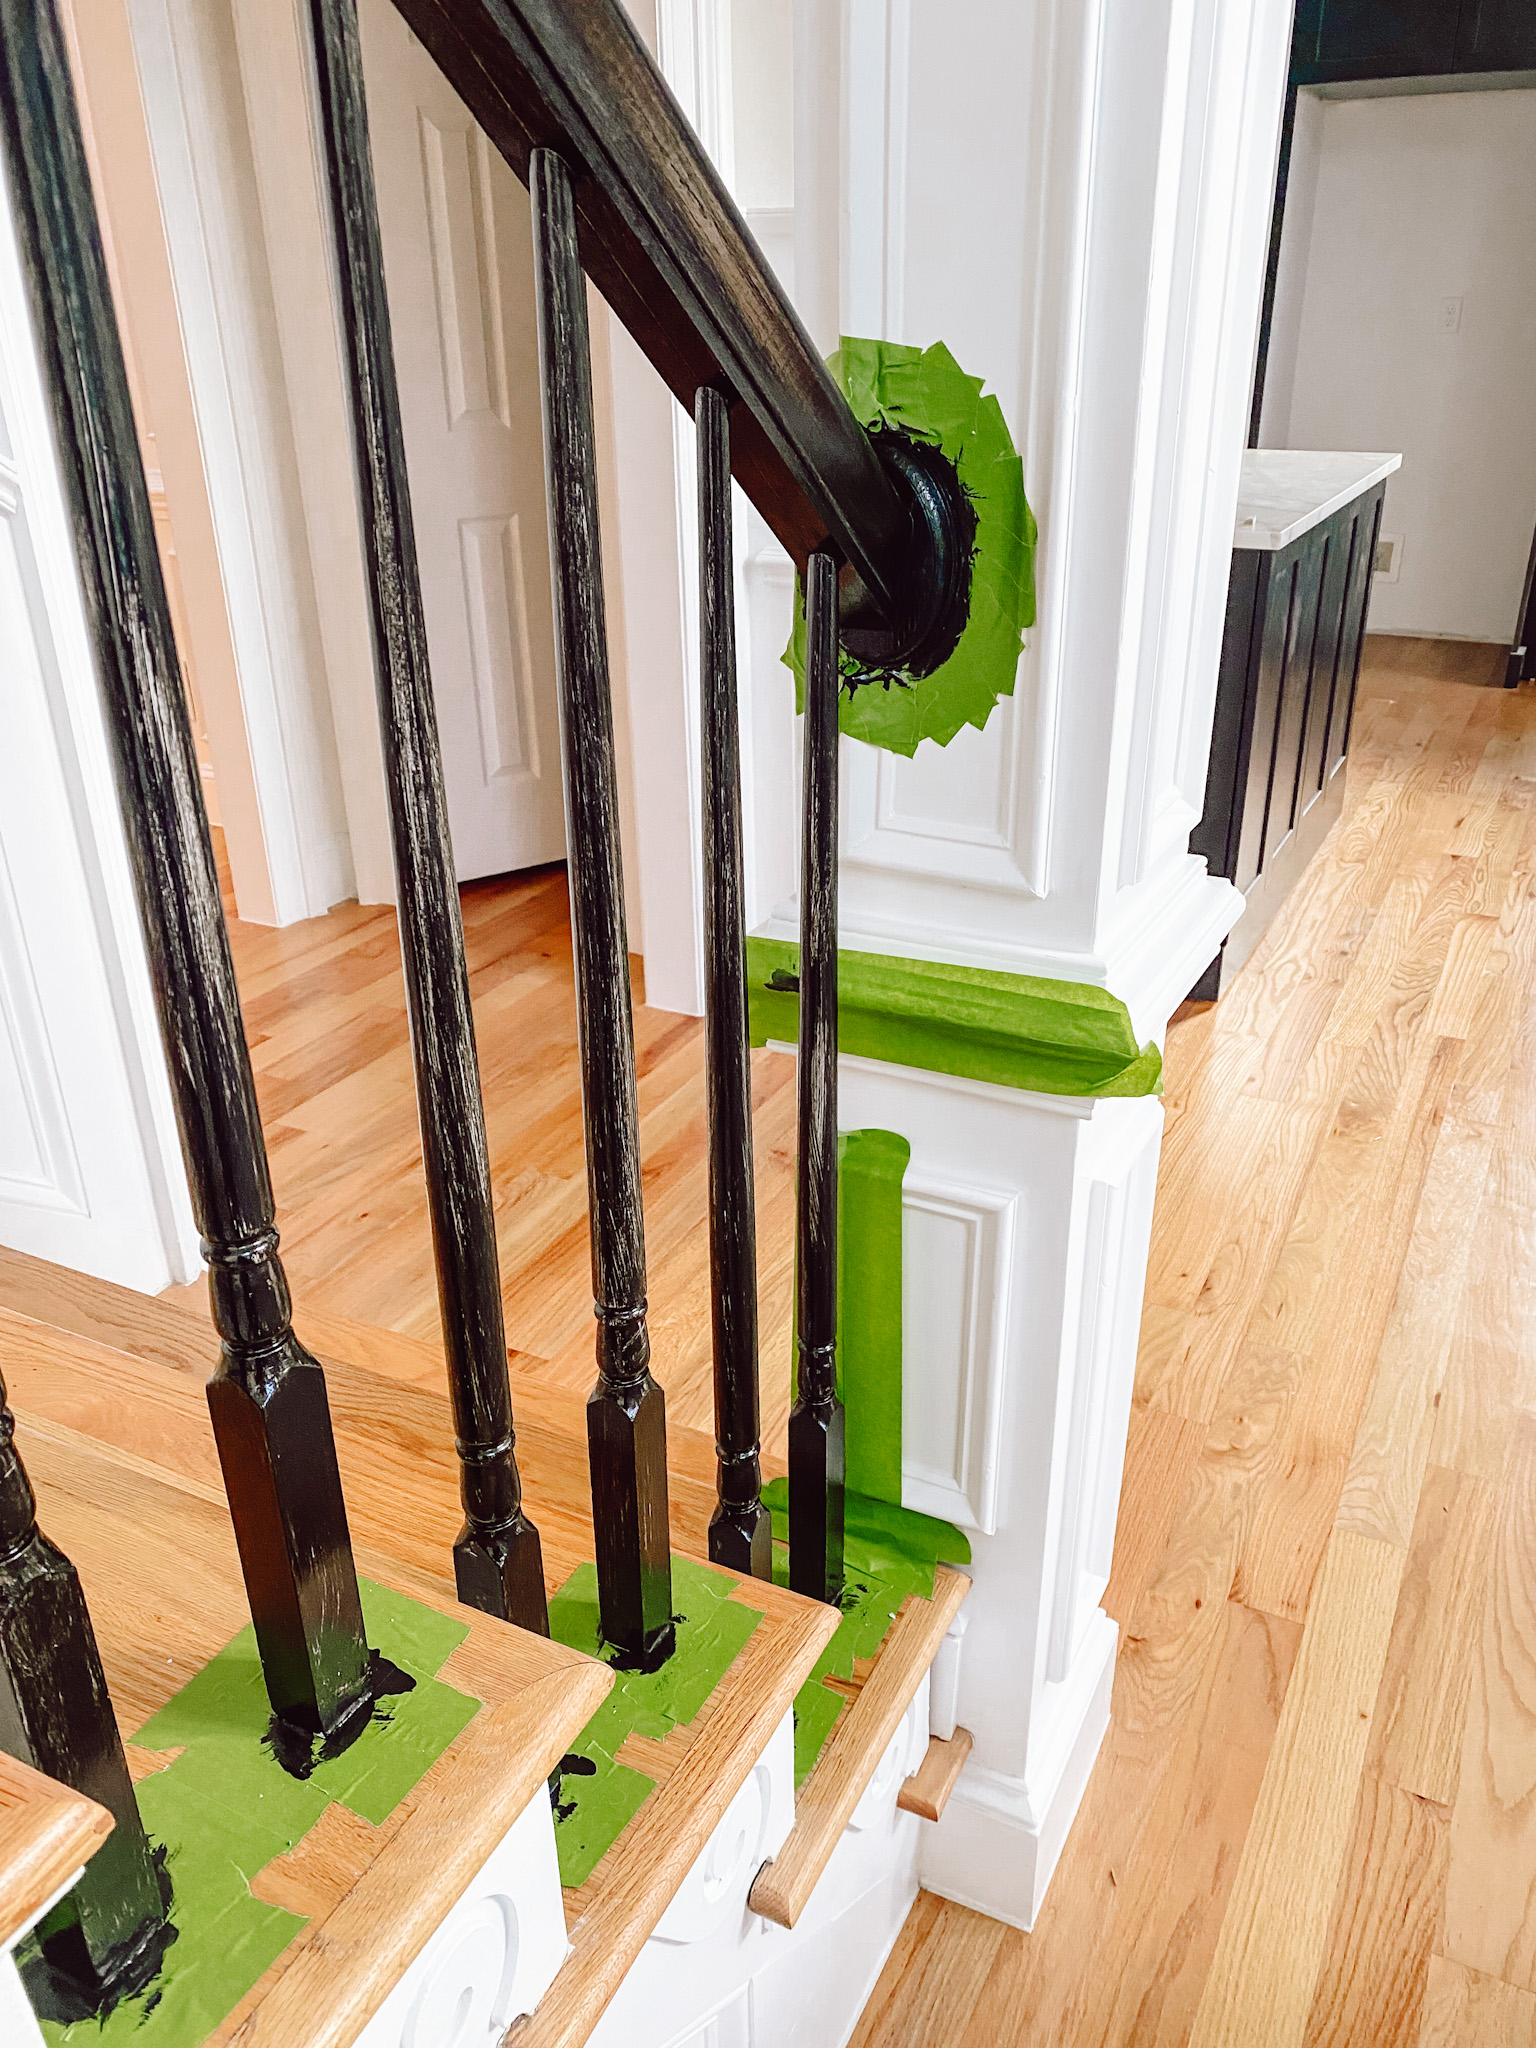
Step #2: Tape off bottom on spindles and walls

Use painters tape to tape off bottom of spindles and where railings meet the wall. I changed to the green painters tape midway through the project and noticed a difference in quality from the blue so I would recommend splurging the extra few dollars for this higher quality painters tape, which means less touch ups at the end.
Step #3: Rub liquid sand on railings prior to painting

Wearing the rubber gloves, pour some liquid sand onto a terry towel and rub generously all over railings, being sure to get in the creases and each spindle top to bottom. Allow, the liquid sand to completely dry before beginning to paint first coat. You may need to replace the terry towel with a fresh one every so often. I just tossed the terry towels when finished.

Step #4: Apply first coat of paint

Once liquid sand has completely dried, use the sprinkle brush to apply the first coat of paint. Be sure to shake the paint can well or mix before using. You can dip the brush directly in the paint can or pour desired amount onto paper plate or paint tray. I bring around a trash can and paper towels with me during this process, just in case you need to wipe some paint and quickly toss. This helps protect your floors and keeps your working area clean.

Painting spindles black

Step #5: Apply second and third coats of paint

Once the first coat is completely dry, you can apply your second coat. I needed three coats to provide the best coverage and look. Repeat process as needed for desired number of coats. I waited until the next day to start a new coat. This project will likely take a couple days to allow for proper drying time in between coats.

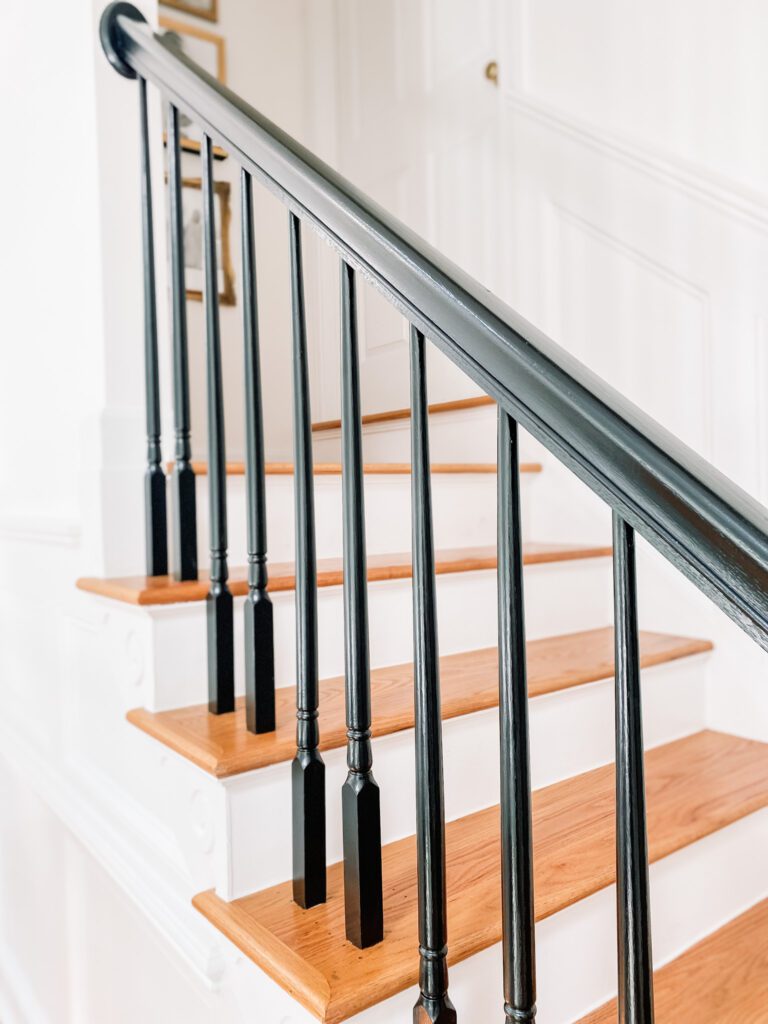
Painting dated railings black

Step #6: Remove tape and touch up bottom of spindles and railings

Once you are done with your final coat, carefully remove the tape from the bottom of the spindles and walls, where the railings are connected. If you did not remove tape when wet with each coat and re-tape before the next coat (I did not because that would have taken forever), then you may have some paint sticking to the tape so be very careful when removing. Once removed, touch up any necessary edges with the small detailed paint brush. I had a little wall paint color on hand as well, in case I need to go back through after touching up the black to fix any areas with the wall paint.

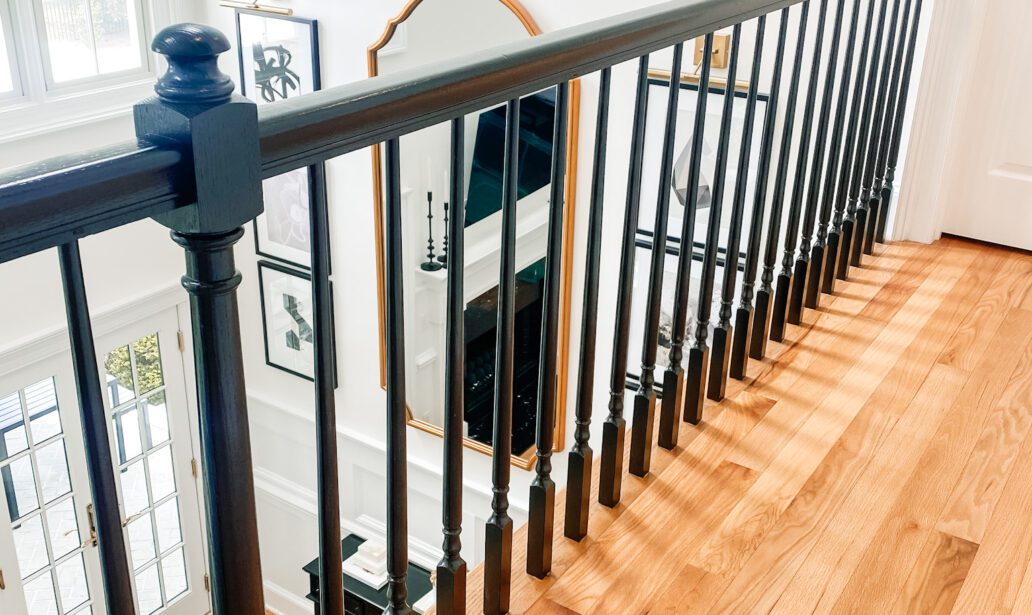
Painted black railings

We hope you enjoyed learning How to Paint Dated Railings. For more home inspiration check out the Home section of our blog here.

About the author
As sisters, lifestyle bloggers, and founders of MalandJess.com, we are here to inspire you to Create Your Joy!