*This post may contain affiliate links. We may earn a commission on purchases made after clicking on these links. We only recommend products we believe in. Thank you for your support!
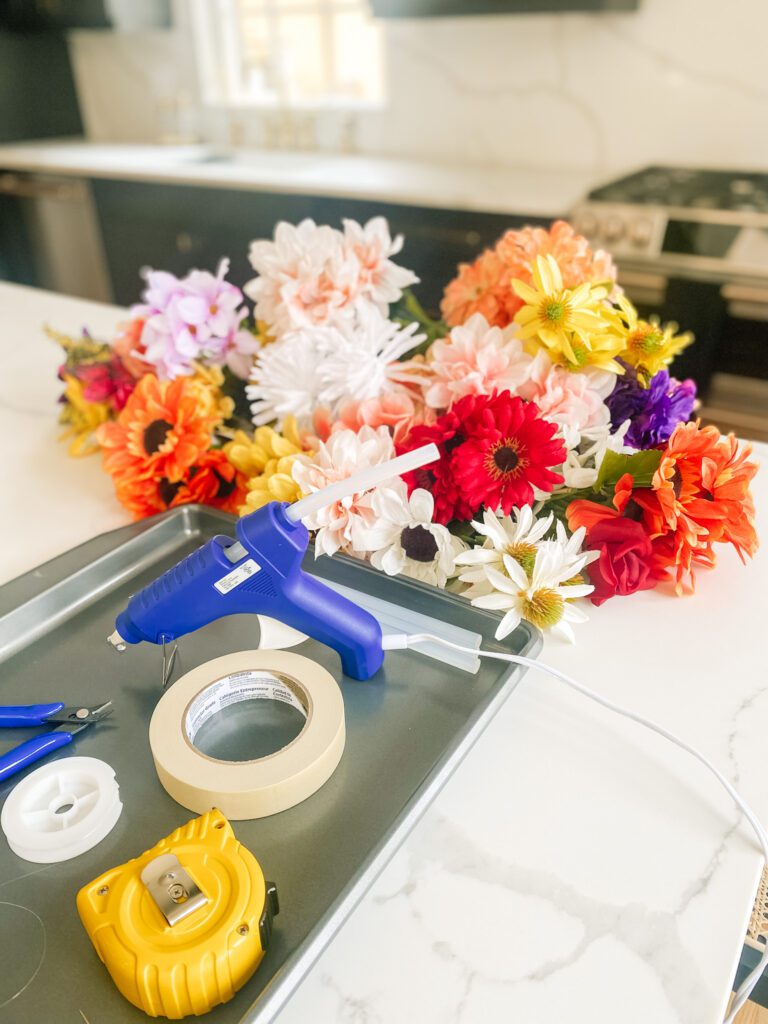
Step #1: Start by gathering your supplies
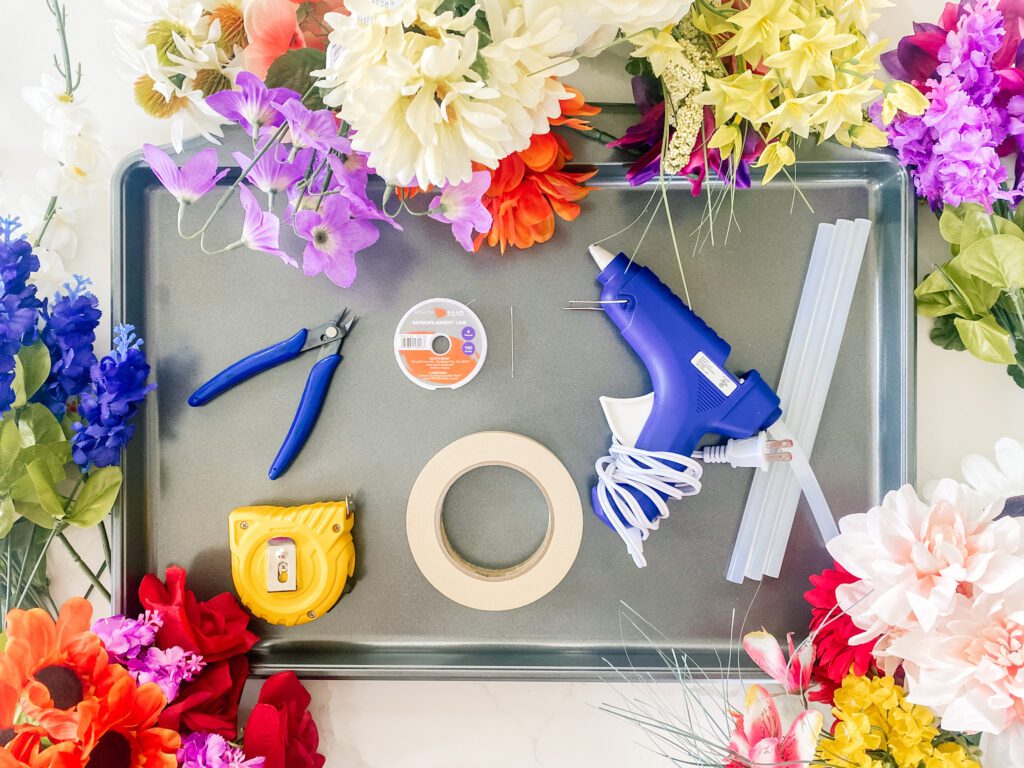
You’ll need the following:
- Artificial Flowers
- Hot Glue Gun
- Measuring Tape
- Needle
- Fishing Line
- Masking Tape
- Wire Cutters or Scissors
- Baking Sheet or Protective Crafting Surface
I purchased my artificial flowers from the Dollar Tree but these can also be found at Hobby Lobby, Michaels, and likely event Walmart. I used a baking sheet to protect my counter from the hot glue gun but any non stick surface will work.
Here is a video tutorial on How to Make Hanging Floral Garland and step by steps instructions below.
Step #2: Measure the length of hanging garland strand
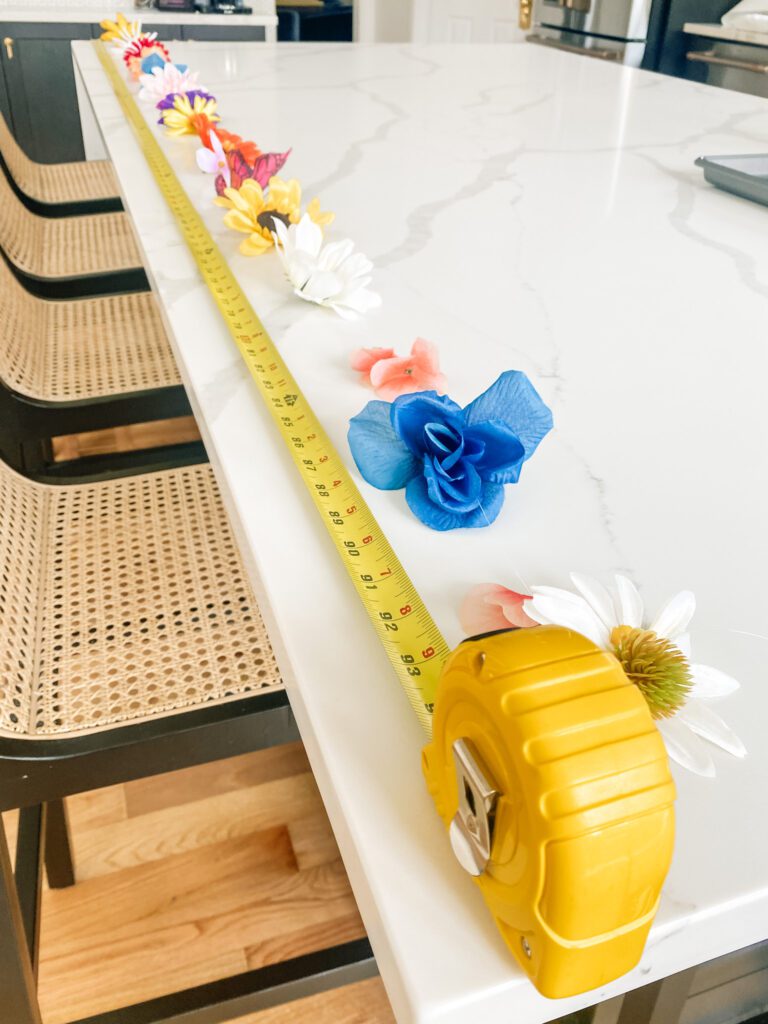
First, Determine where you are going to hang the floral garland. Measure the length of garland you would prefer and add a few inches to the top and bottom to allow extra length for hanging and runoff.
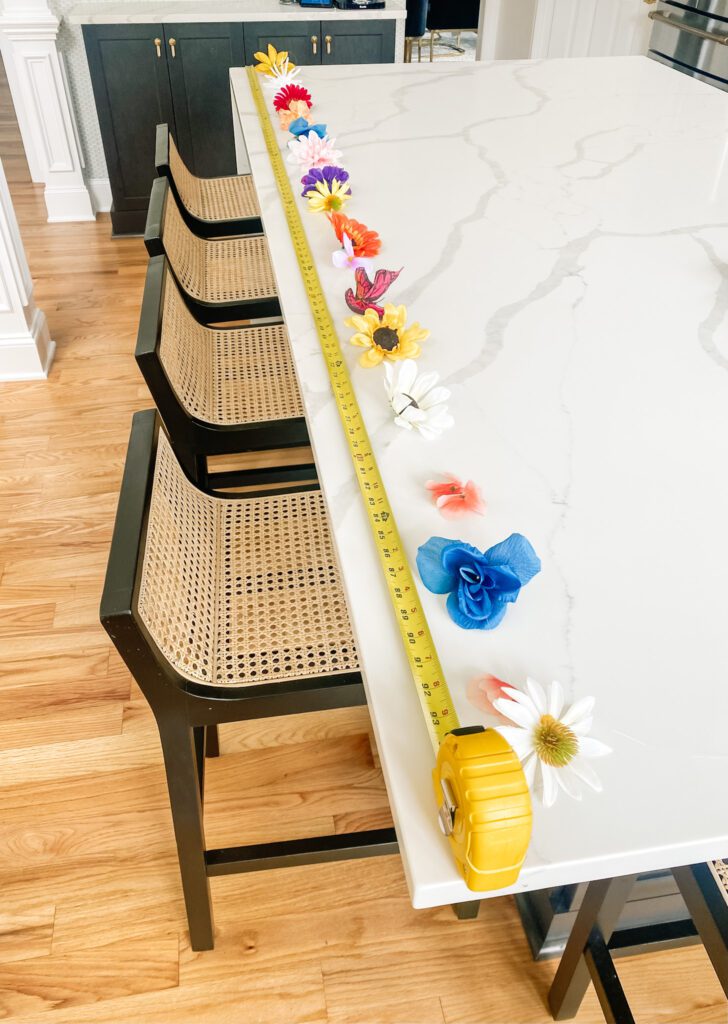
Step #3: Thread the needle with fishing line and cut line to determined length
Thread the needle with the fishing line and double knot it to secure to the needle. Tape one end of the fishing line and use the measure tape to lay the line out flat and measure to your determined length in last step. Be sure to include extra for hanging and runoff.
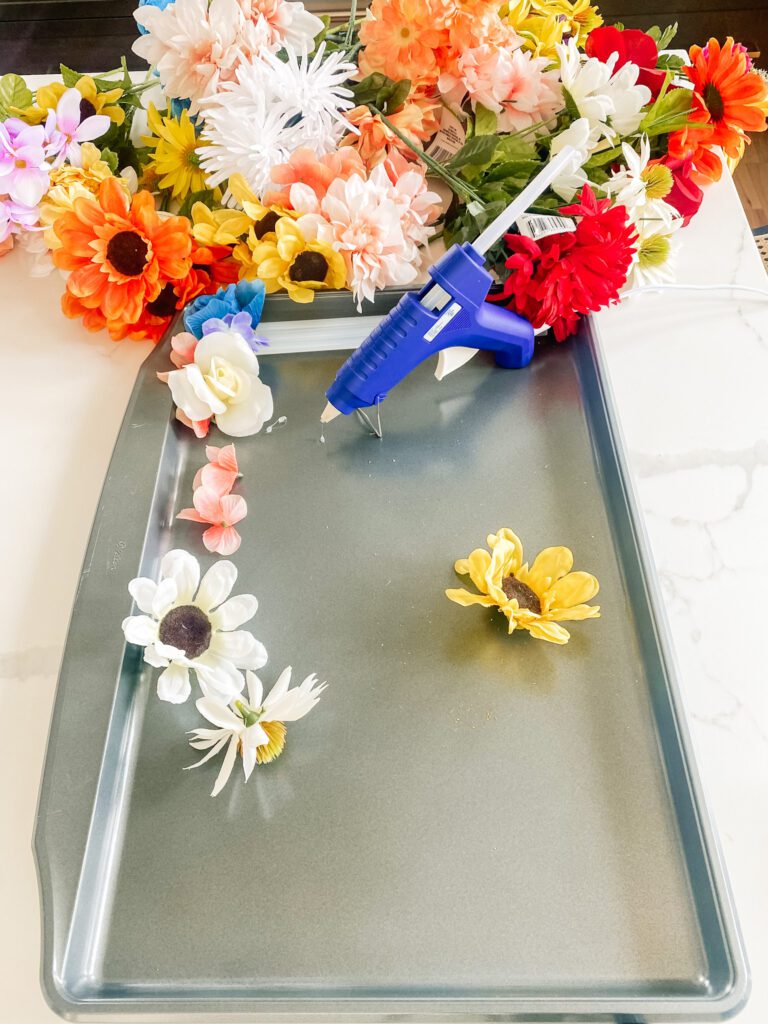
Step #4: Pull desired flowers off stems and thread with needle
Use wire cutters or simply pull the desired flowers you would like to use off the stem and set aside. Thread the needle and fishing line through the back of each flower, pulling it through the front.

If the flower has plastic on it, I like to thread through the plastic if possible to make it more secure, if not, I thread through the fabric of the flower as close to the center of the flower as possible.
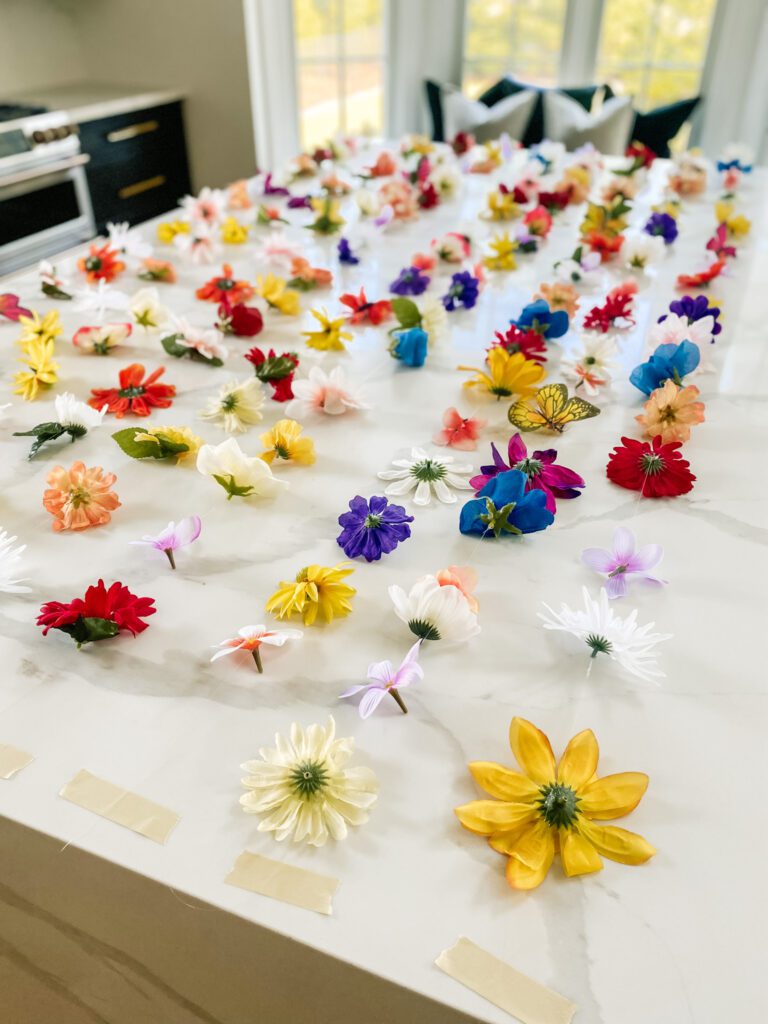
Step #5: Tape end of garland line and spread out flowers to desired distance
Use a table, floor, or large surface to tape one end of the garland once all flowers have been threaded. Spread out the flowers to their desired spacing on each garland strand.
Step #6: Hot glue the fishing line to the back of each flower
Use a hot glue gun to secure the fishing line to the back of each flower with a small dollop of glue. Be careful not to burn yourself! Trust me it hurts! I like to place the glue on the back of the flower right where it is thread through. The purpose of this is to prevent the flowers from sliding once the garland is hung. Once a couple flowers are glued, let the glue dry and carefully move the line or baking sheet to the next section of the garland.
Step #7: Let hot glue cool and hang garland from desired surface
Once all flowers have been hot glued to the fishing line, let the glue completely cool. Then, hang from one end, either using a push pin, masking tape, or by tying to a board or pole. Space the garland to your desired spacing.
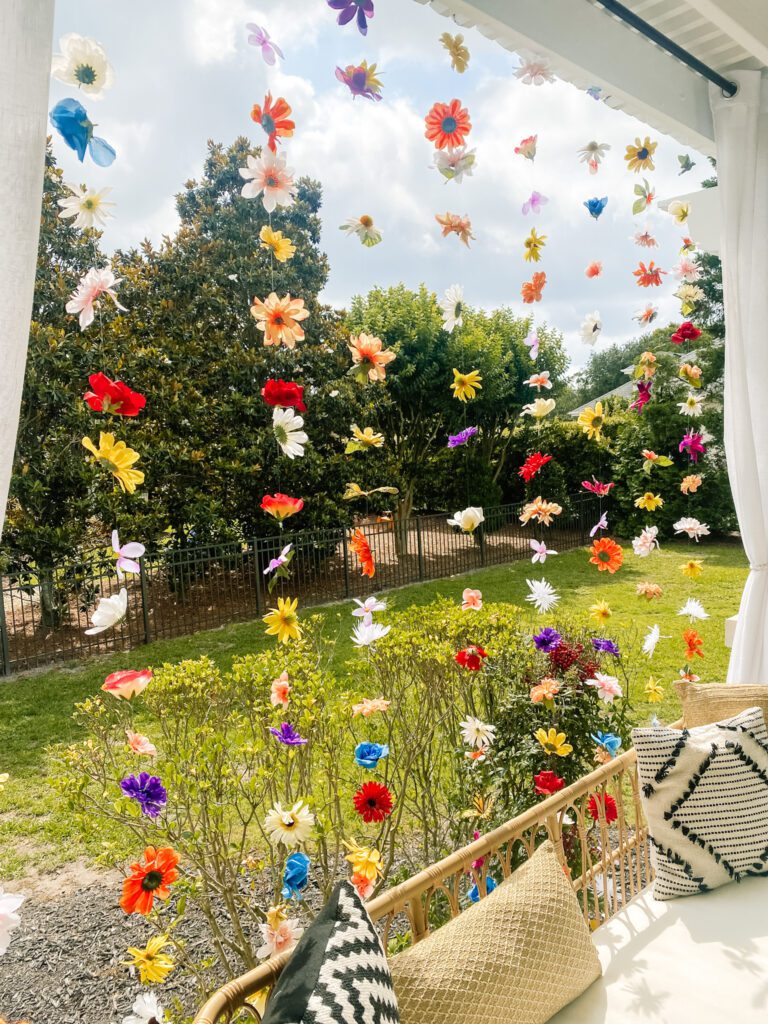
Step #8: Bask in the beauty of your flower wall
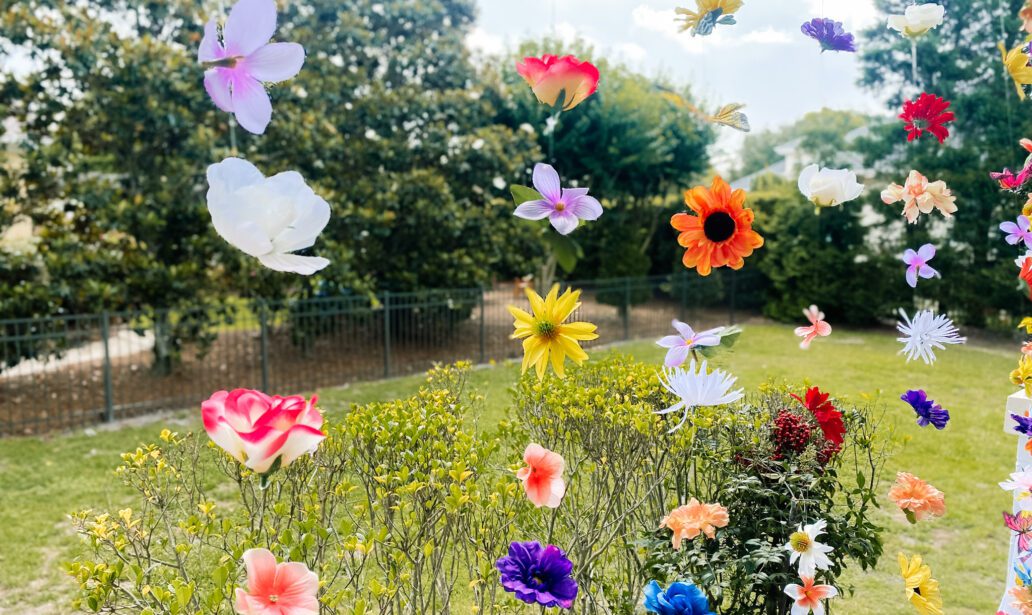
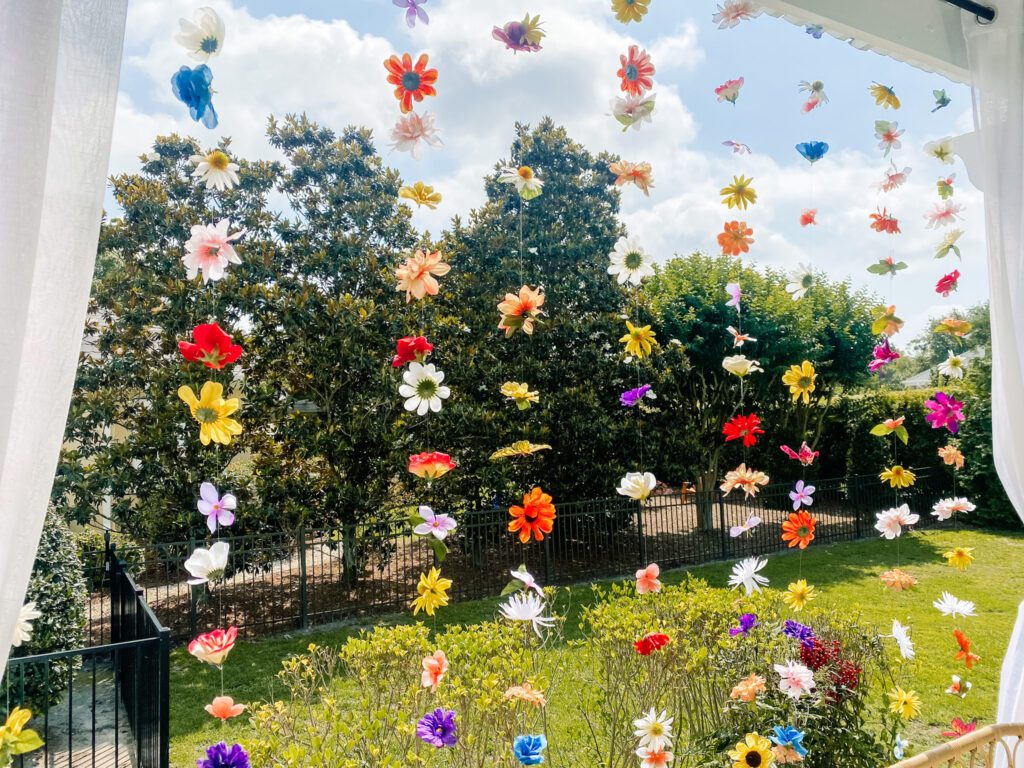
Sit back and enjoy the beautiful floral garland fluttering in the breeze. These make a great decor item for baby showers, bridal showers, nurseries and so much more! Have fun crafting and Create Your Joy!
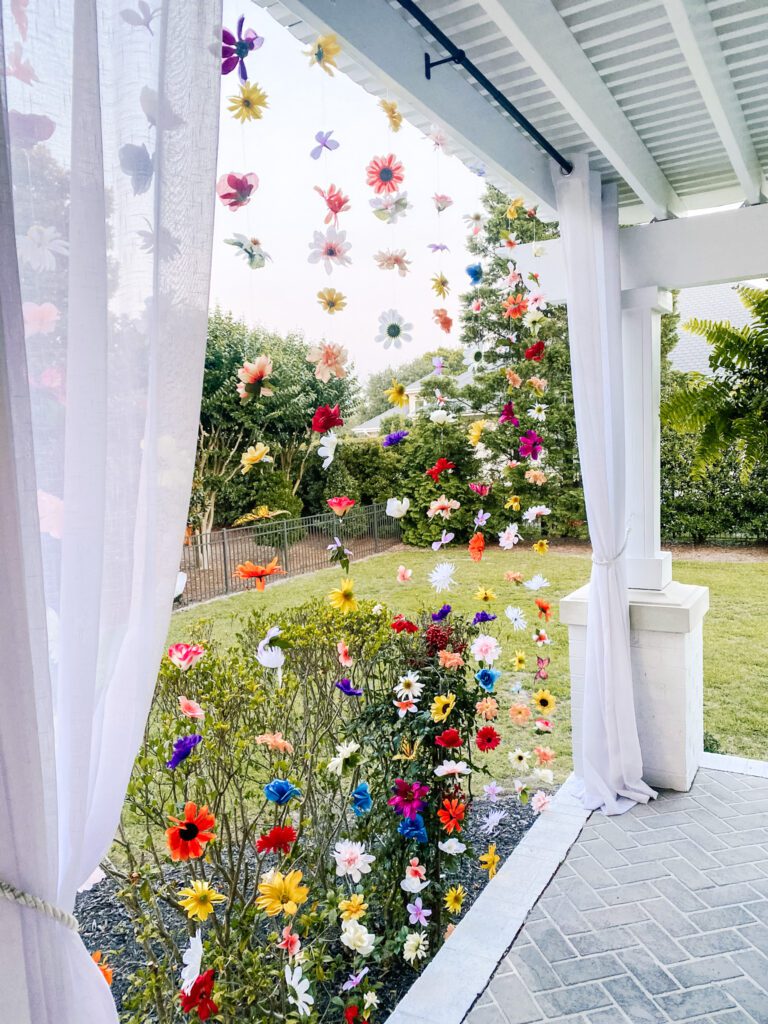
We hope you enjoyed learning How to Make Hanging Floral Garland. For more craft inspiration check out the Crafts section of our blog here.

